Colorization Master Class #3
Sparrowhawk
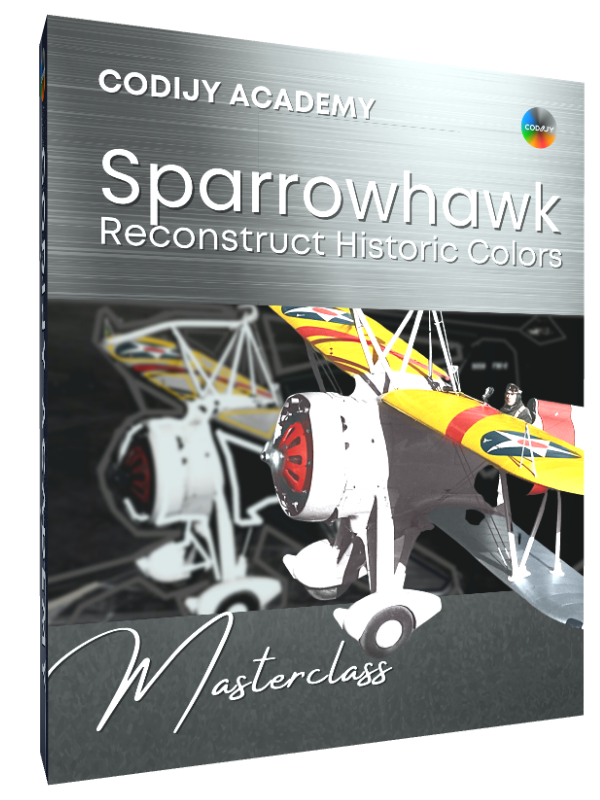
Welcome to the third session of the CODIJY course. In this class we attempt to restore the photo of F9C-2 Sparrowhawk, a lightweight biplane from the 1930s to its authentic colors. You’ll need:
Take this class with any version of CODIJY
This class goes into detail of each step
Sparrowhawk
Class # 3: Restore Colors
Get Ready
Next Master classes
Flight of the Sparrowhawk: Restore Colors
Prepare to Colorizing

In this class, we will color a picture of a light fighter biplane carried by the US Navy airships USS Akron and Macon in the 1930s.
During the colorization process, you will restore the original colors of this aircraft using CODIJY Colorizer Pro’s specialized tools.
You’ll also practice applying color to other historical details such as the miniature but clearly distinguishable figure of the pilot, Lieutenant Harold B. Miller, commander of the Heavier-Than-Air Unit, and a 1934 view of Moffett Field airfield, California.
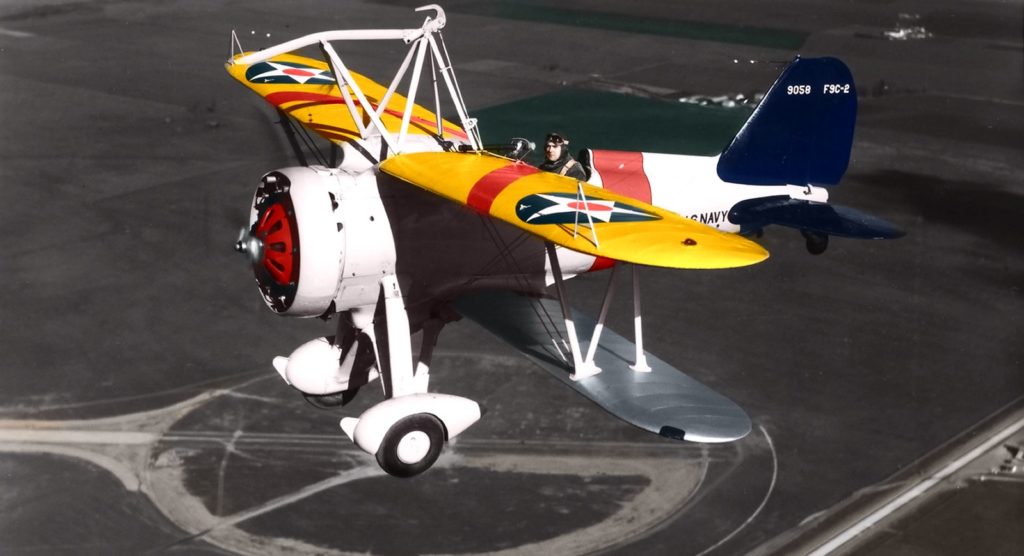
F9C-2 Sparrowhawk piloted by Lt. Harold B. Miller, commander of the Heavier-Than-Air Unit, over Moffett Field, California (1934).
About this master class
This class introduces CODIJY Colorizer Pro users to the new tool for color selection, Color Capture.
This part of the lesson explains how to use capture colors!
If you are using CODIJY Recoloring, you can colorize this image using the ready-made colors provided in the training file.
Let’s start with opening the photo and the palette!
1
Get ready
Save flight.mgd to your computer. Double click this file.
The photo opens in the Editor (2). Note the tiny icon (4) in the Color Picker that calls the Color Capture tool in Colorizer Pro.
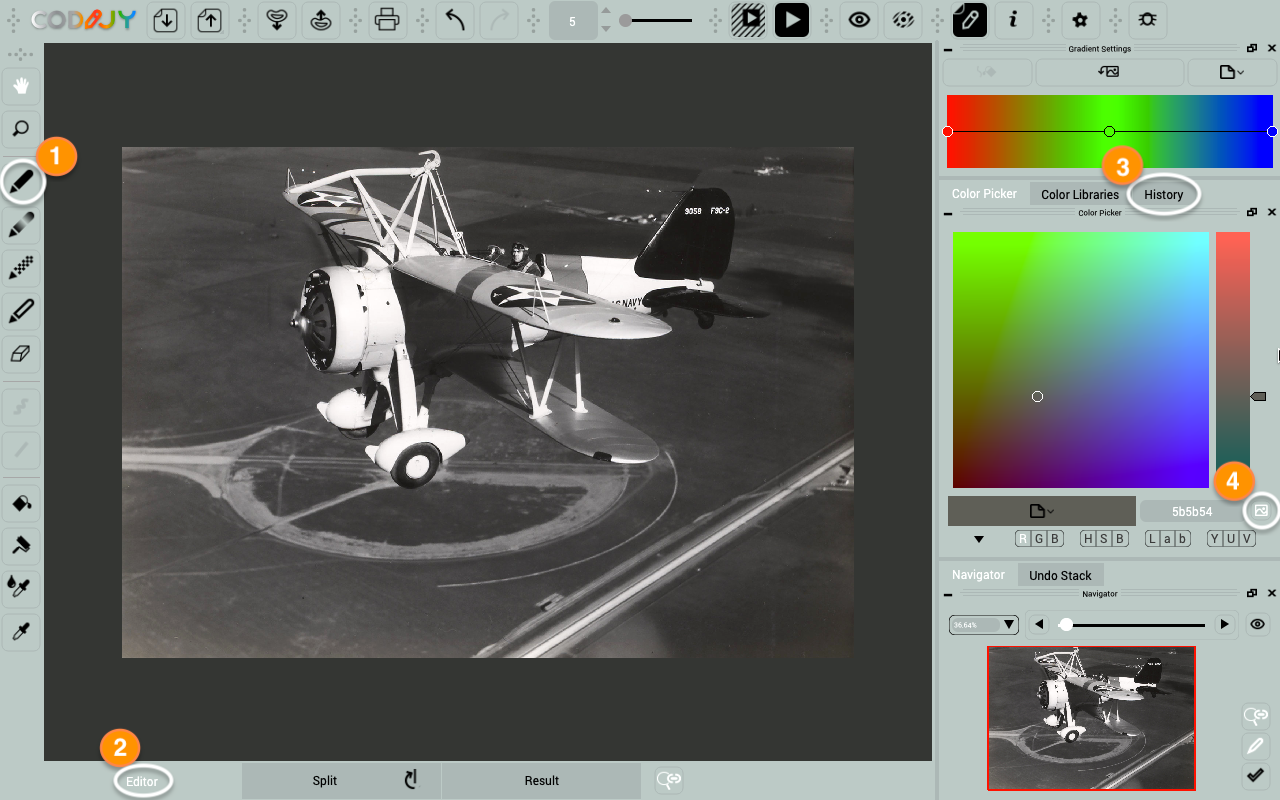
In some steps, we will use the pre-defined colors. To keep them at hand, pin the History panel to the top.
First come the wing and grille hues (1-4). Then the fuselage (4) and tail (5). The Moffett field (6-7) and facial/pilot’s clothes colors (8-12) come last.
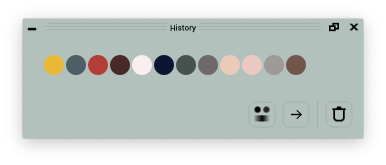
Next, open the Color Capture Tool.
2
Find & open the sample image
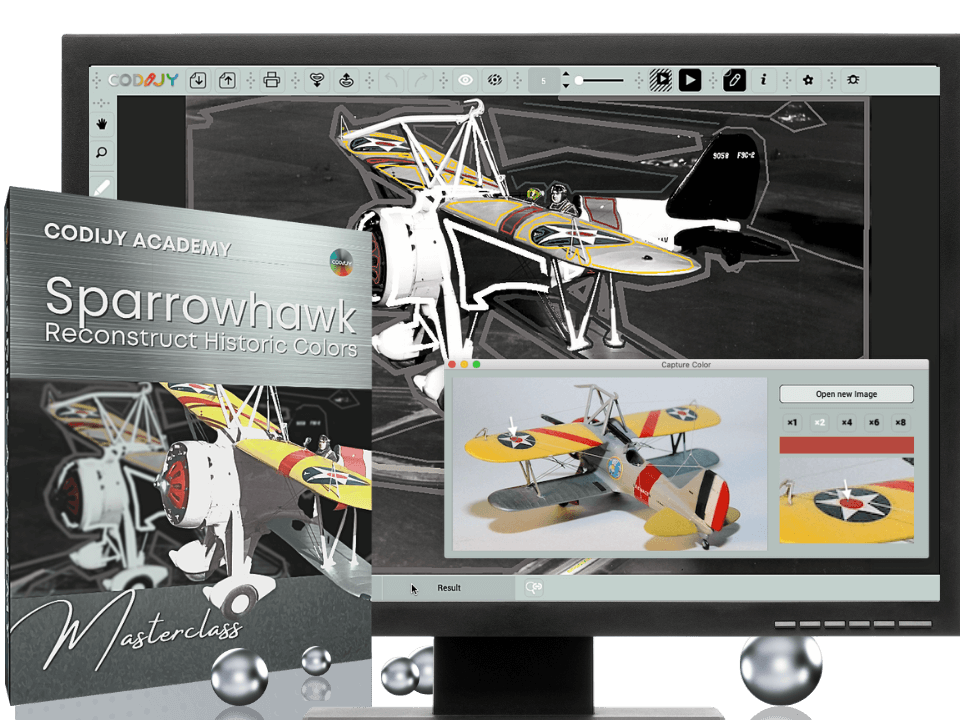
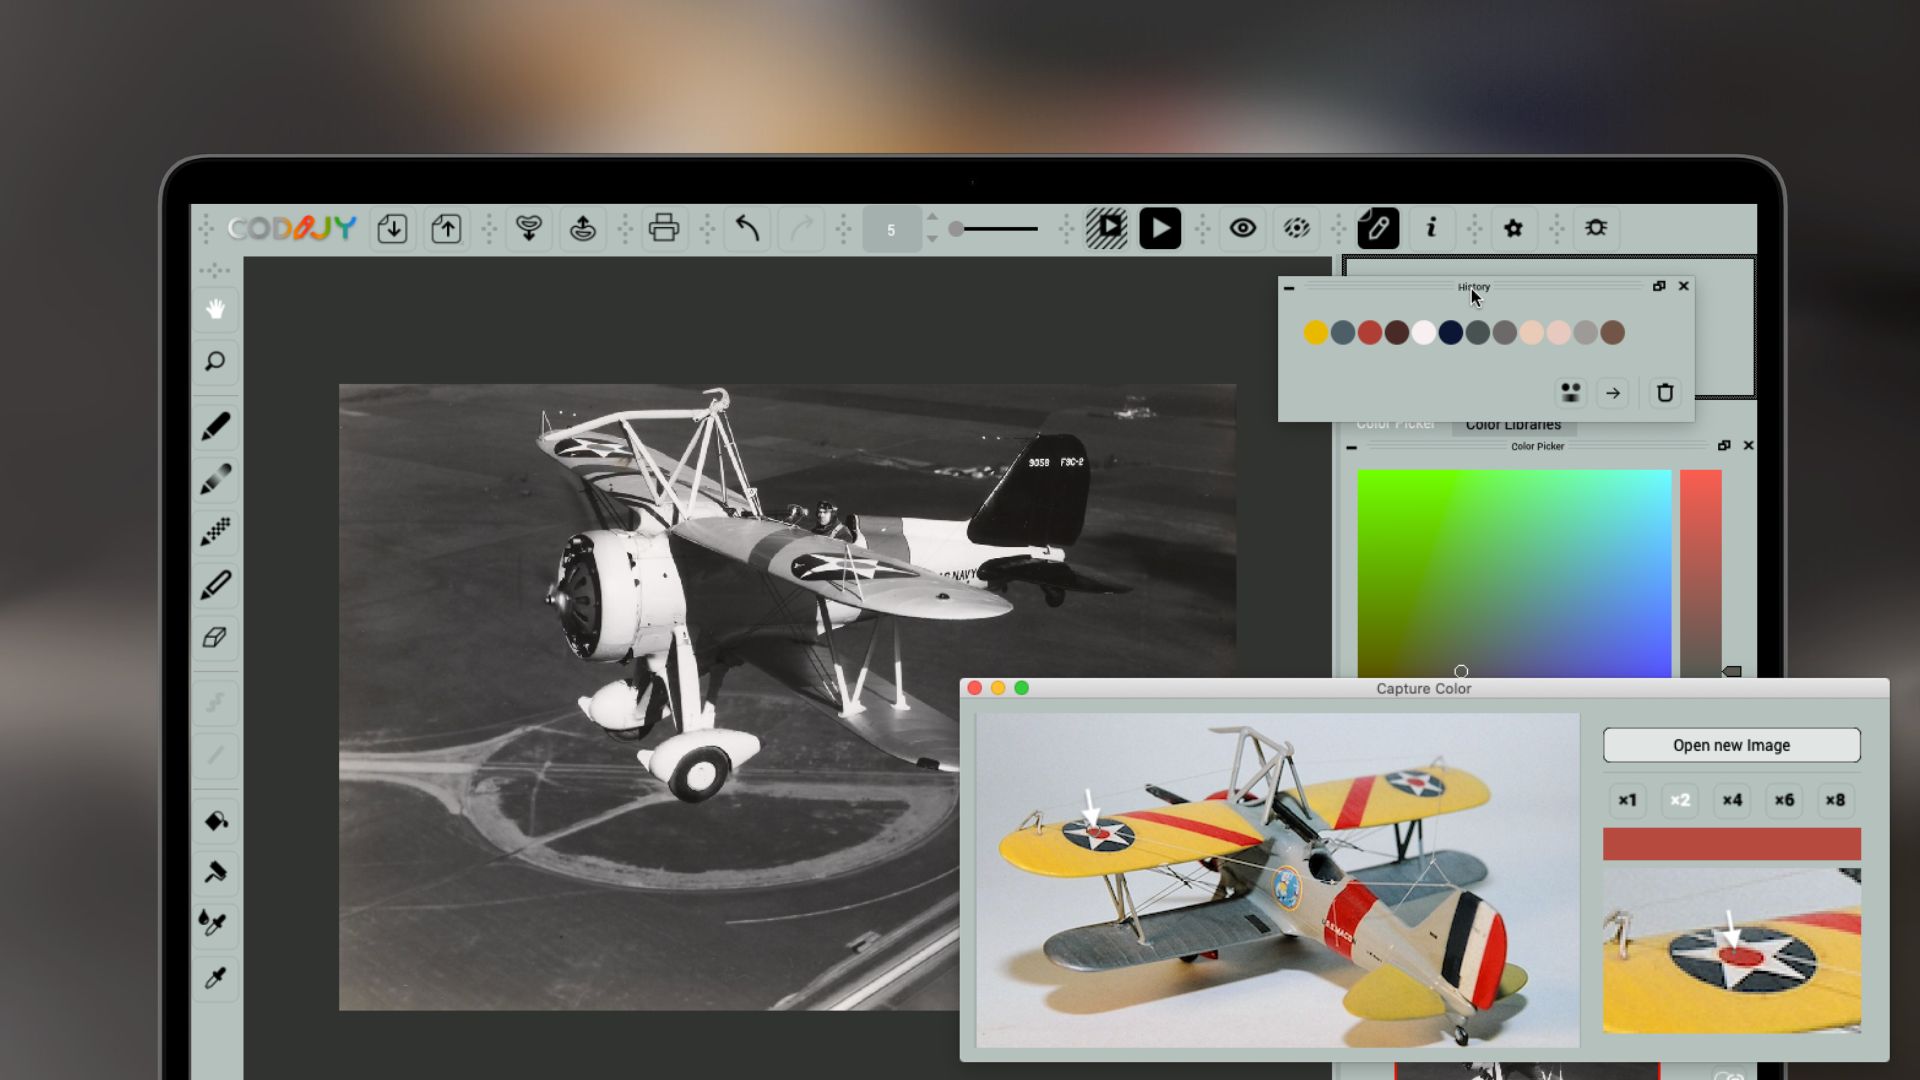
The Color Capture tool in CODIJY Colorizer Pro lets you copy colors from a color image directly into the Color Picker.
We picked the photo of miniature model of the F9C-2 Sparrowhawk to use as a color example.
Step 1. Save model-1.png to your computer.

Step 2. Call the Color Capture dialog (Pro version) from the Color Picker.
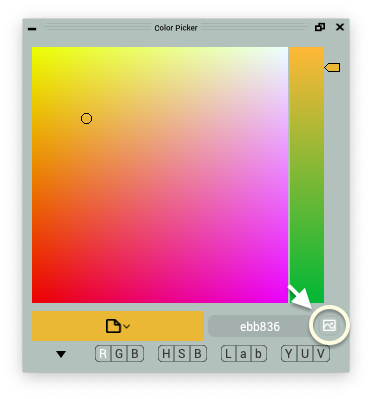 Step 3. Open model-1.png using the Open button.
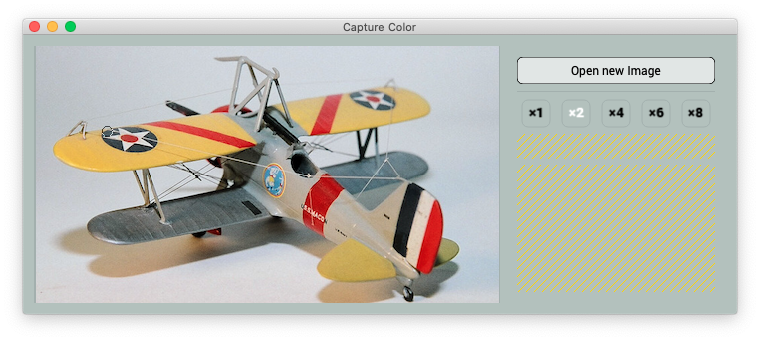
Resize the dialog window, by dragging its corner.
Let’s start with capturing the tone for the yellow paint of the wing.
3
Capture a color
Step 1. Move the cursor over the wing tip. Check the left-side preview to locate the rich amber pixel.
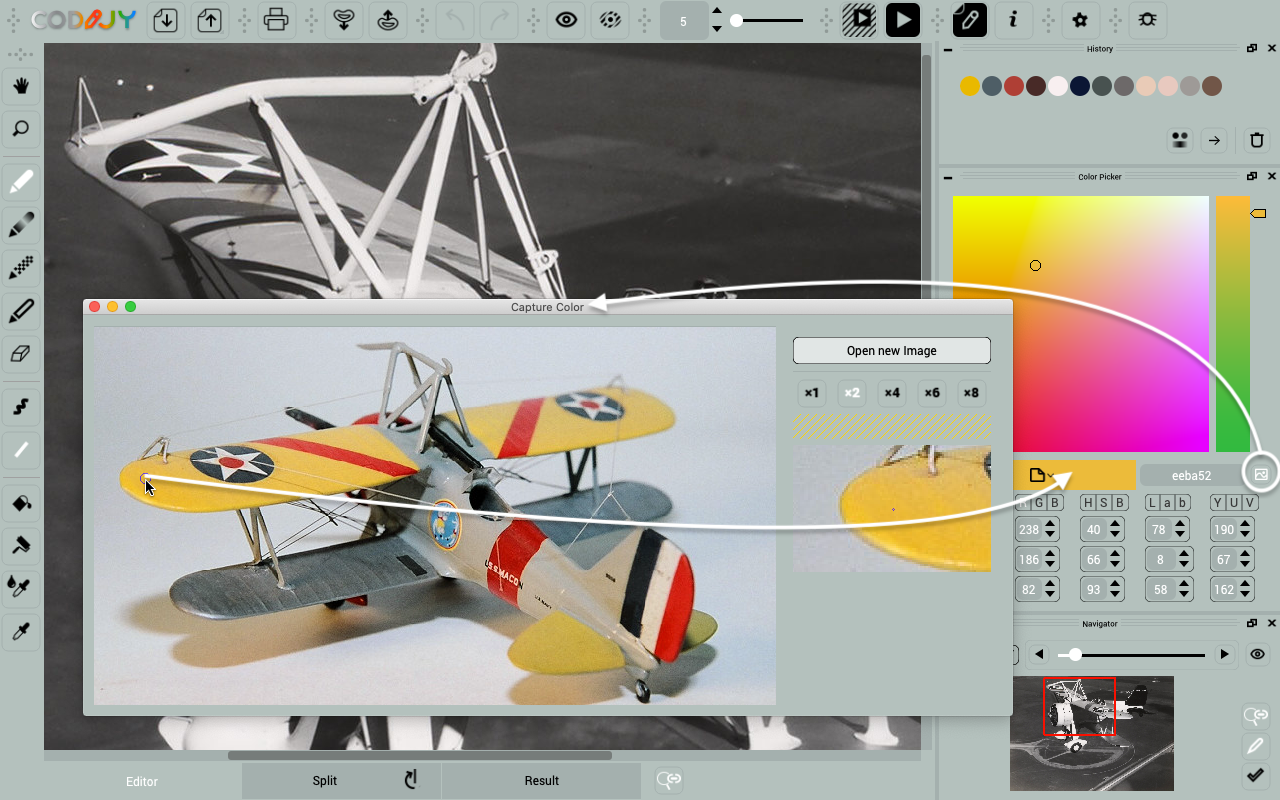
The pixel-scale preview allows you to find matching pixels at different zoom levels.
Step 2. Click the pixel. The yellow tone will show up in the Color Picker dialog.
We are done. Let’s set up the Pen parameters.
4
Set up the pen
The segments of the yellow paint on the wing, with a few exceptions, have straight edges. Since some of them are quite small, set the Pen tool to draw straight lines 3 pixels wide.
In the second part of this lesson, we will practice applying this and other tones to different parts of the biplane!

