Australian infantryman
Class # 2: Portrait
Facial Features
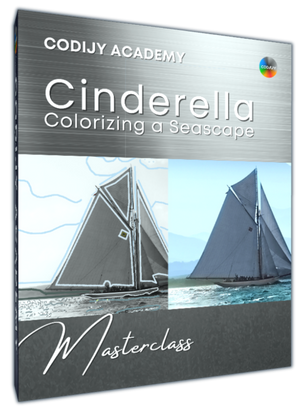
Next Master classes
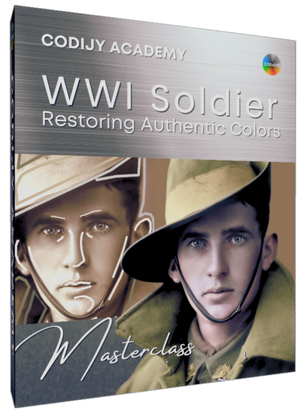
Australian Infantryman: Colorizing a Portrait
Face Colorization
In the last part of this master class, we will give the young man’s face a natural, realistic look.
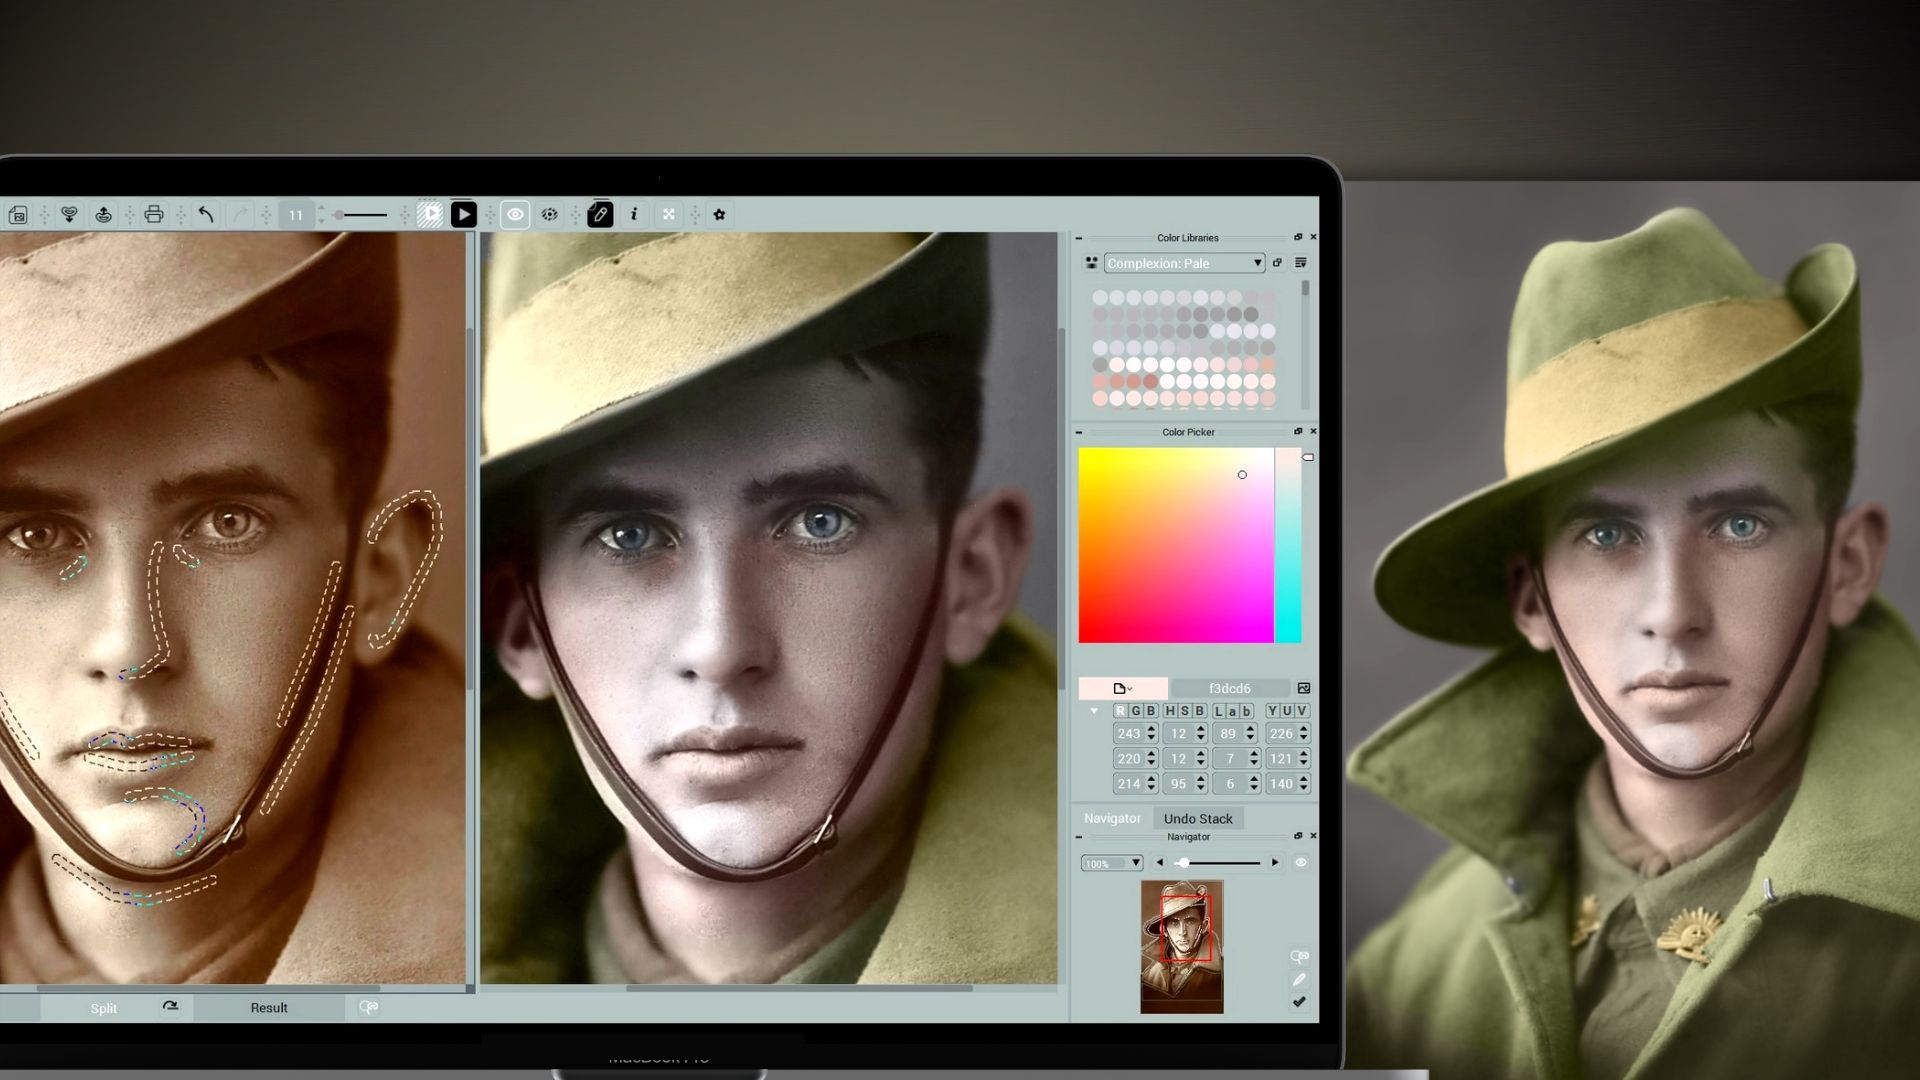
You will have the chance to learn how to make the eyes look realistic and practice applying multiple tones to the male face.
Table of Contents
We move on to the main part of the portrait – the facial features of the young man!
7
Eyes
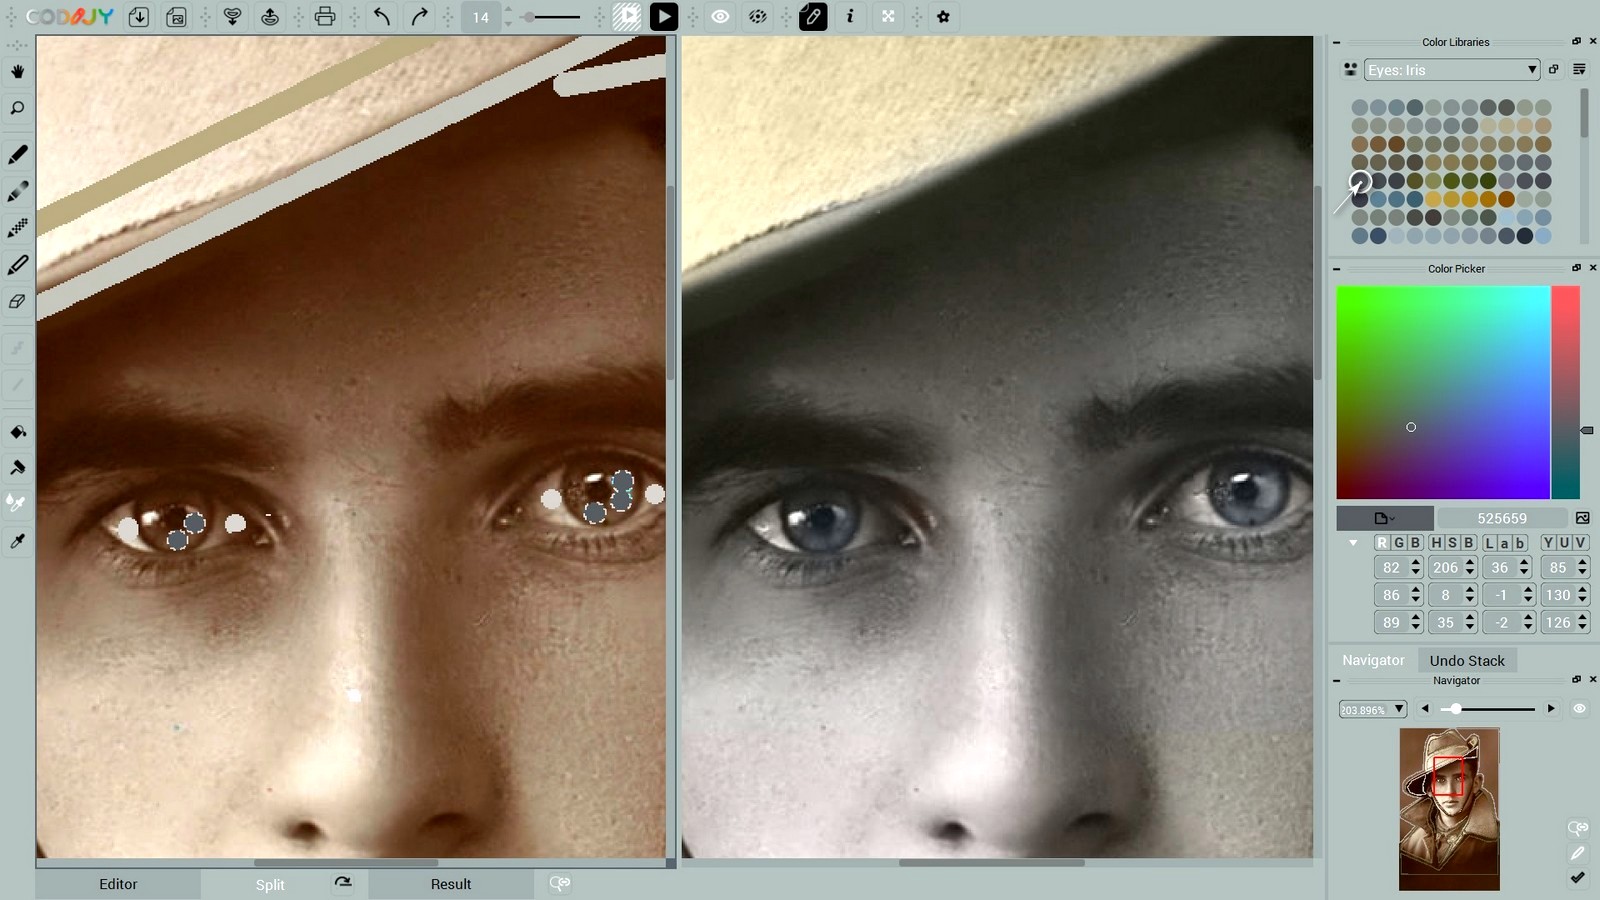
Open the Eyes: The White and Eyes: Iris libraries. Zoom in on the face area.
Add the dots of gray and the light beige to the eyes.
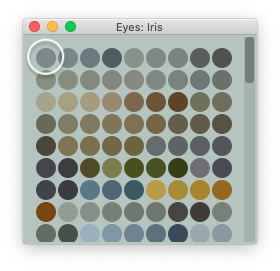
#7b898a
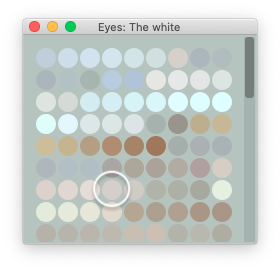
#d6cecb
Note: The tone of the eye white is a shade of beige!
8
Facial tones
If you look at the enlarged image, you can see traces of freckles. This means that the young man had a fair complexion.
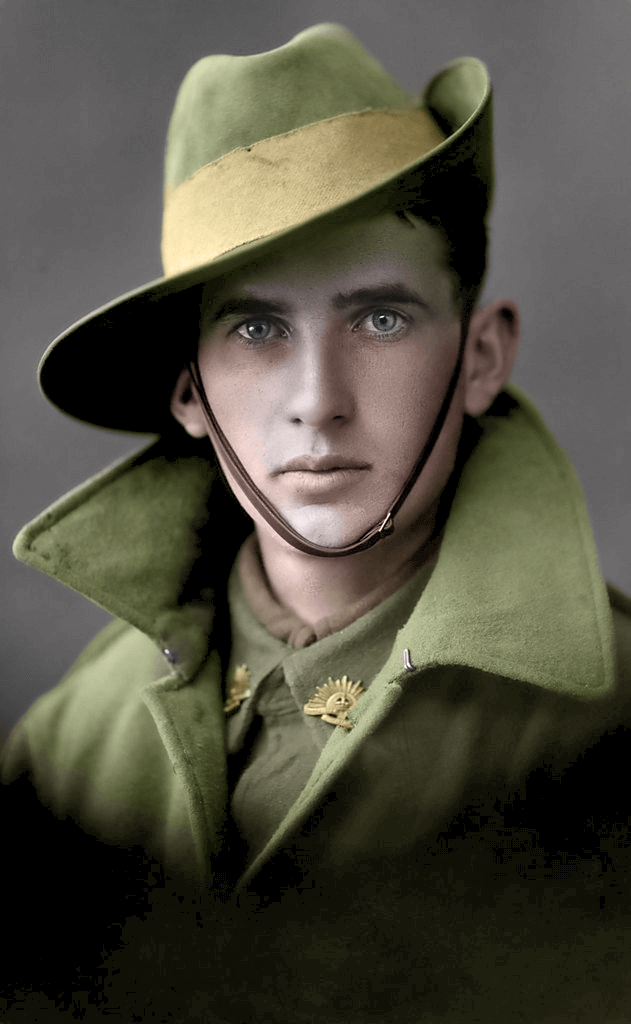
Then, to recreate a natural relief of his face, we should use:
- the lightest pink for highlights,
- a light pink for contours and shadows,
- a light olive to recreate the shadow cast by the hat.
Let’s start with the light base.
Facial Highlights
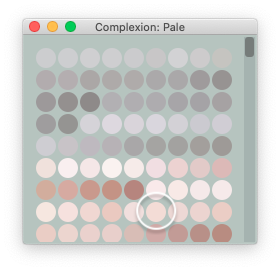
Open the Complexion: Pale library. Pick the light pink tone as shown below.
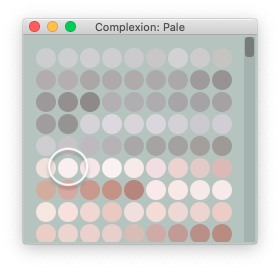
Highlights: f9eff0
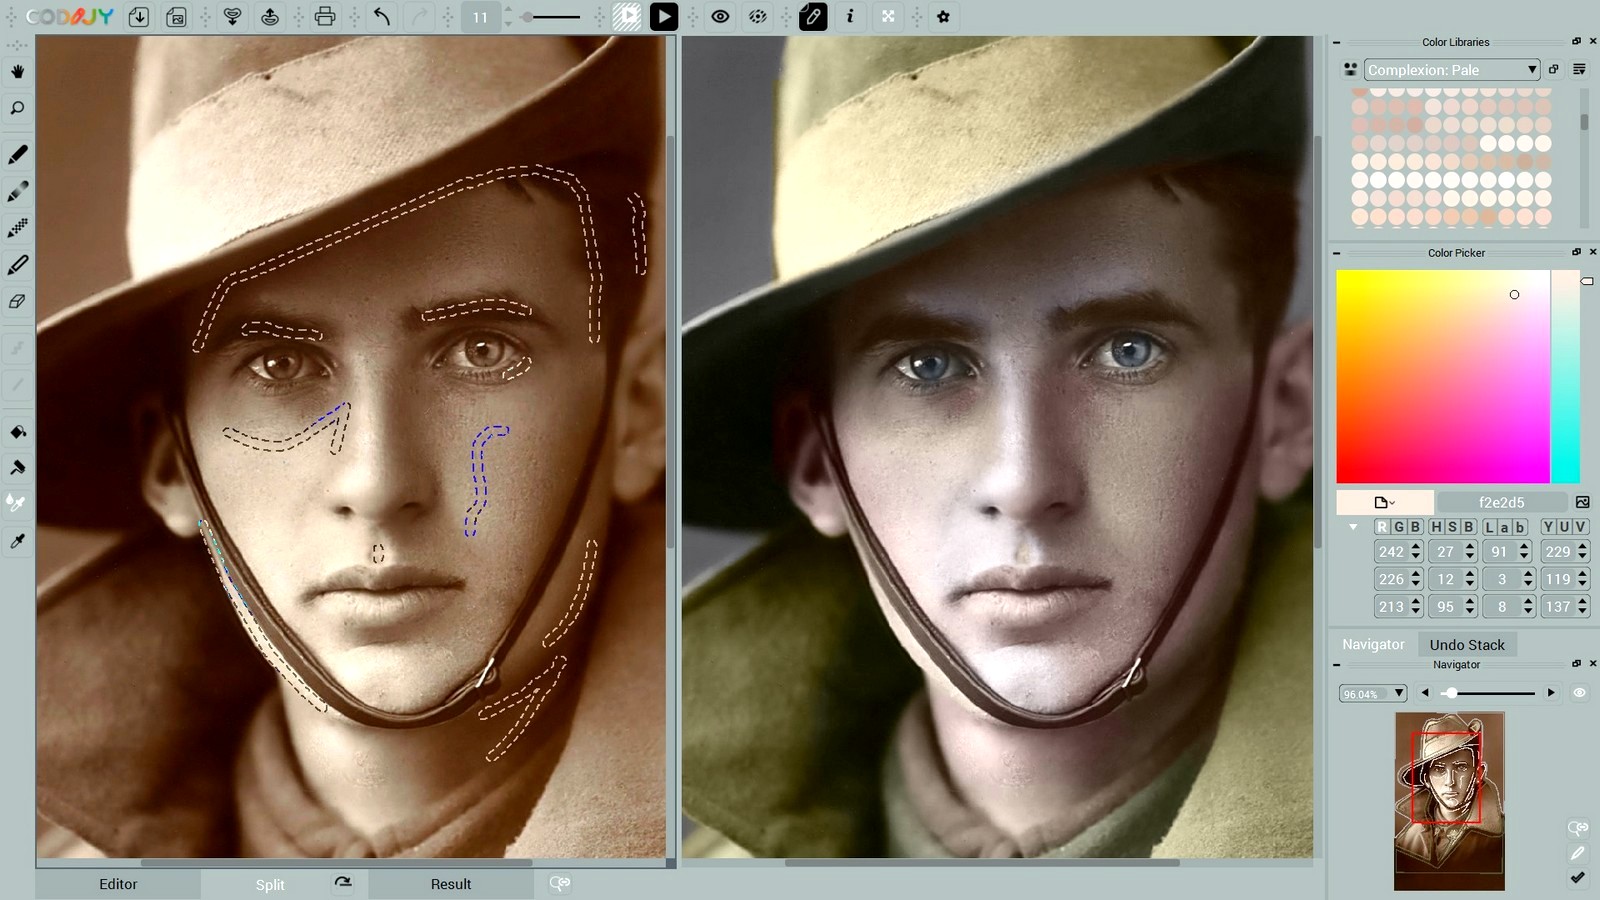
Draw masks above the eyebrows, along and under the nose and over the chin.
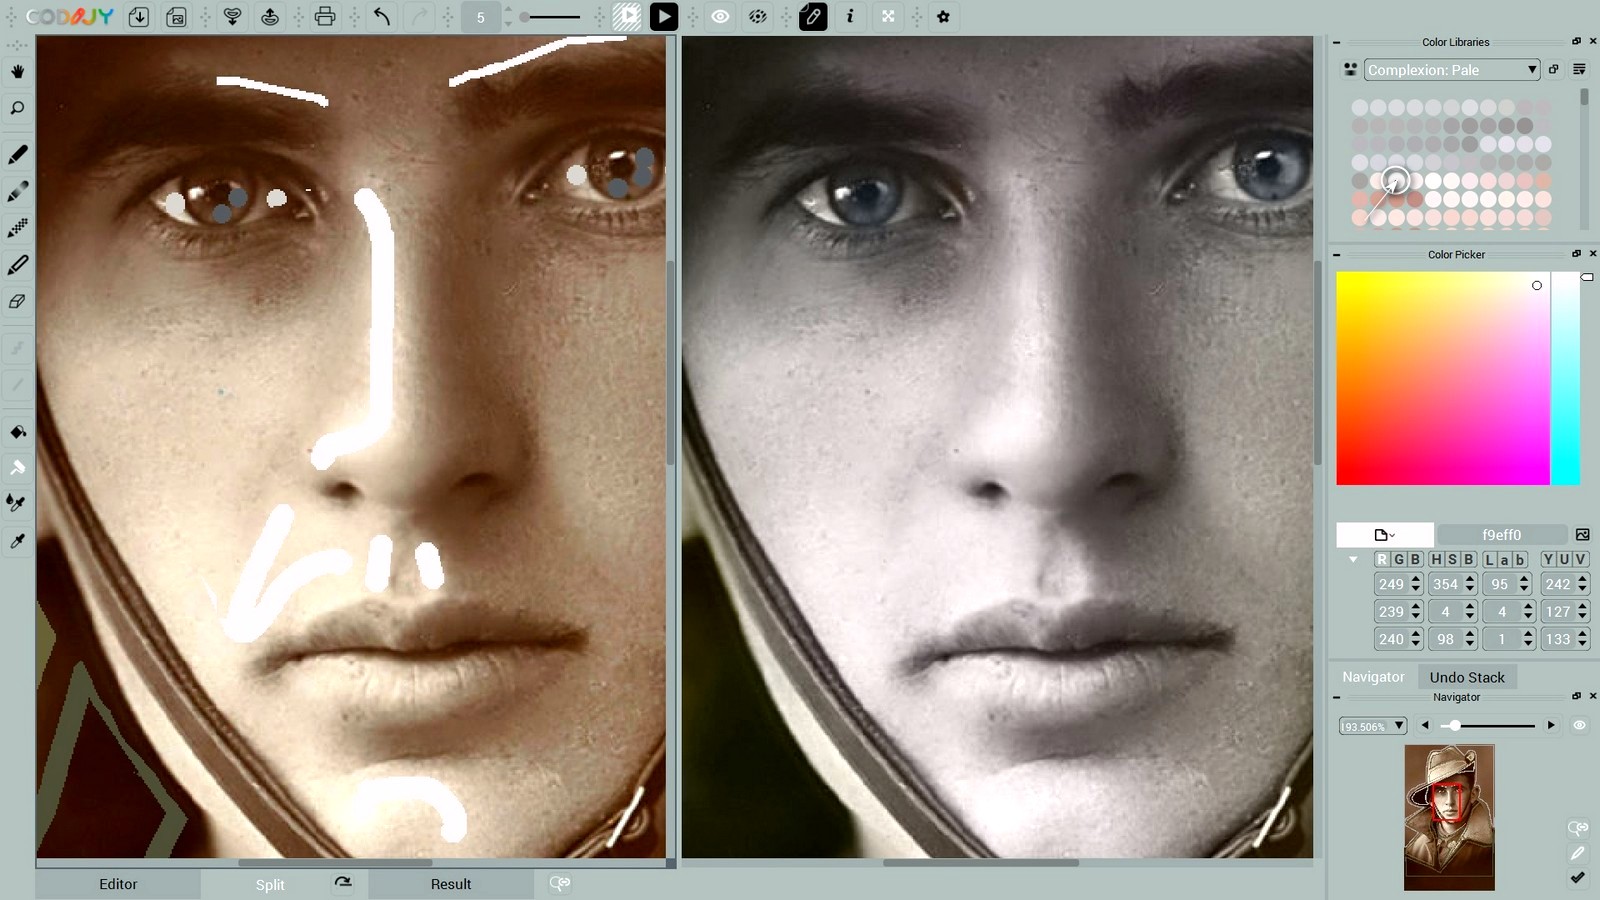
The face masks in this portrait present a combination of straight and curved segments.
To draw the masks precisely, stay in the Line mode. When you reach the curved segment, keep the mouse button down:
![]() Press & hold the Spacebar to go around the curve.
Press & hold the Spacebar to go around the curve.
Once you finish the rounded segment, release the Space key.
The highlight tone has toned the face light pink, which made it somewhat pale. To remedy this, let’s go around the shaded areas with a contrasting tone.
Shadows & Contours
Add strokes of a light powder tone under the eyes, on the sides of the nose, to the lips and to outline the contours of the face.
As the base tone was extremely light, we picked a less saturated tone than the one we used in the previous tutorial.
Shadows: f3dcd6
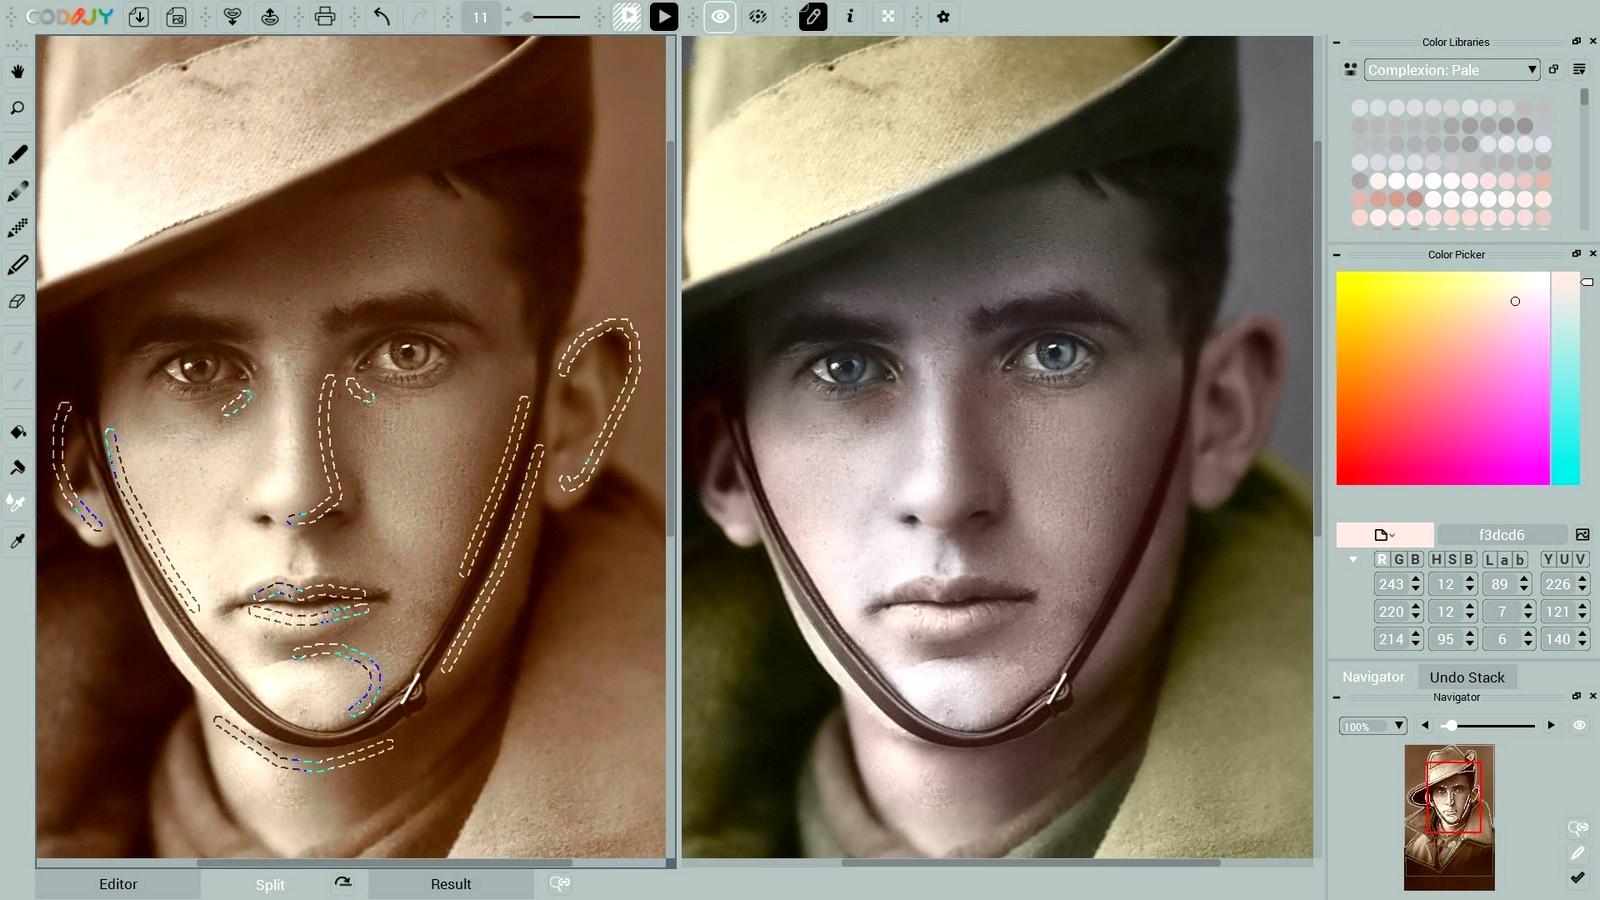
Olive shadow
An almond tone (#f2e2d5) will add a touch of yellow under the eyes. You can obtain this shade moving the Hue to the greener zone in the HSB dialog.
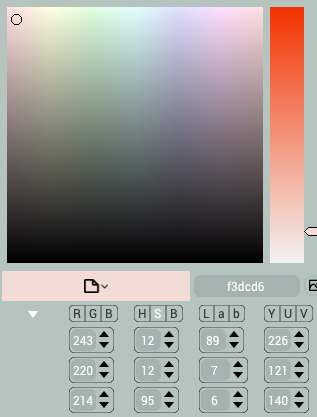
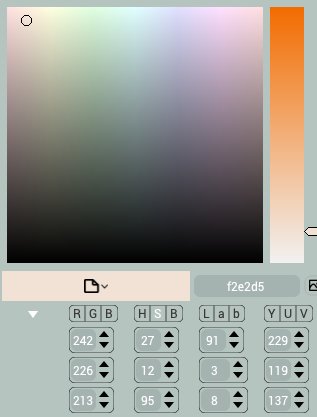
To obtain the tone that naturally mixes with the facial color, we shifted the previous Hue parameter towards yellow [H] 12->27
9
Save & Export
Now you can save your work and and export the result to the image.
- Long press Save icon
 to access the Save/export menu.
 - Go under the File menu.
- Long press Save icon
After getting an image file with the color result, open it in any photo editor and adjust brightness, shadows, whiteness and other parameters. This help make the colors more expressive.
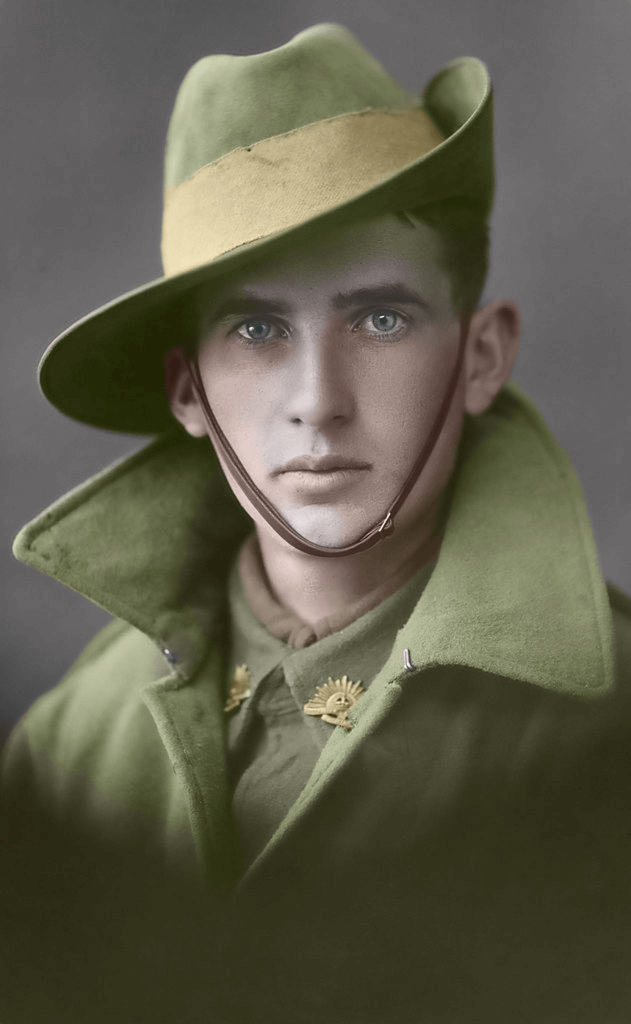

Congratulations!
You have completed 2rd class of CODIJY Colorizing Course!
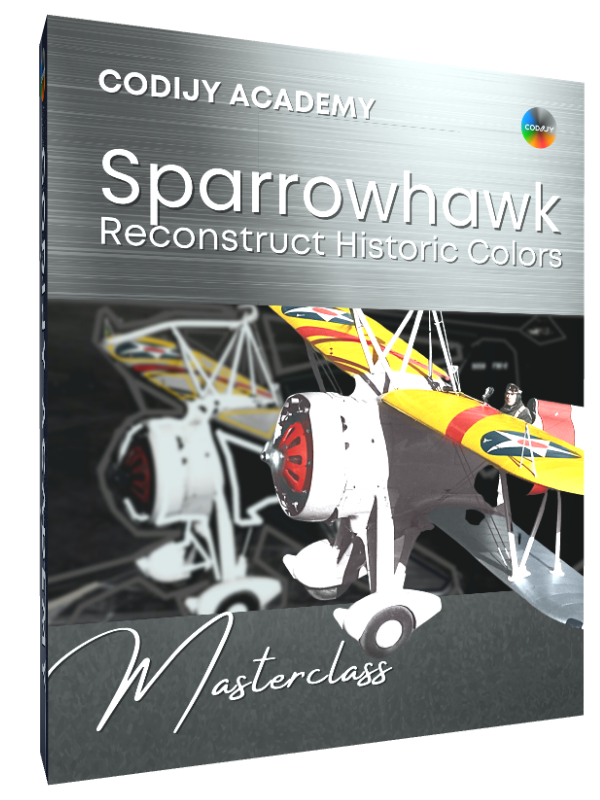
In our third session, we will learn how to restore authentic colors of the 1930’s biplane using the color example.

