CODIJY Quick-Start Tutorial
Add Image Colors with Ease
Welcome to CODIJY – specialized software for creative photo colorists! In this tutorial we give a simple practical exercise on how to work with this application.
About Quick Start Tutorial
In the next few minutes, you’ll:
- spend a brief introduction to CODIJY,
- add some color to a black and white photo,
- get an idea of how CODIJY delivers such great results!
Hope you’ll enjoy coloring with our software!
You can follow this tutorial with any version of CODIJY!
1
Save the photo
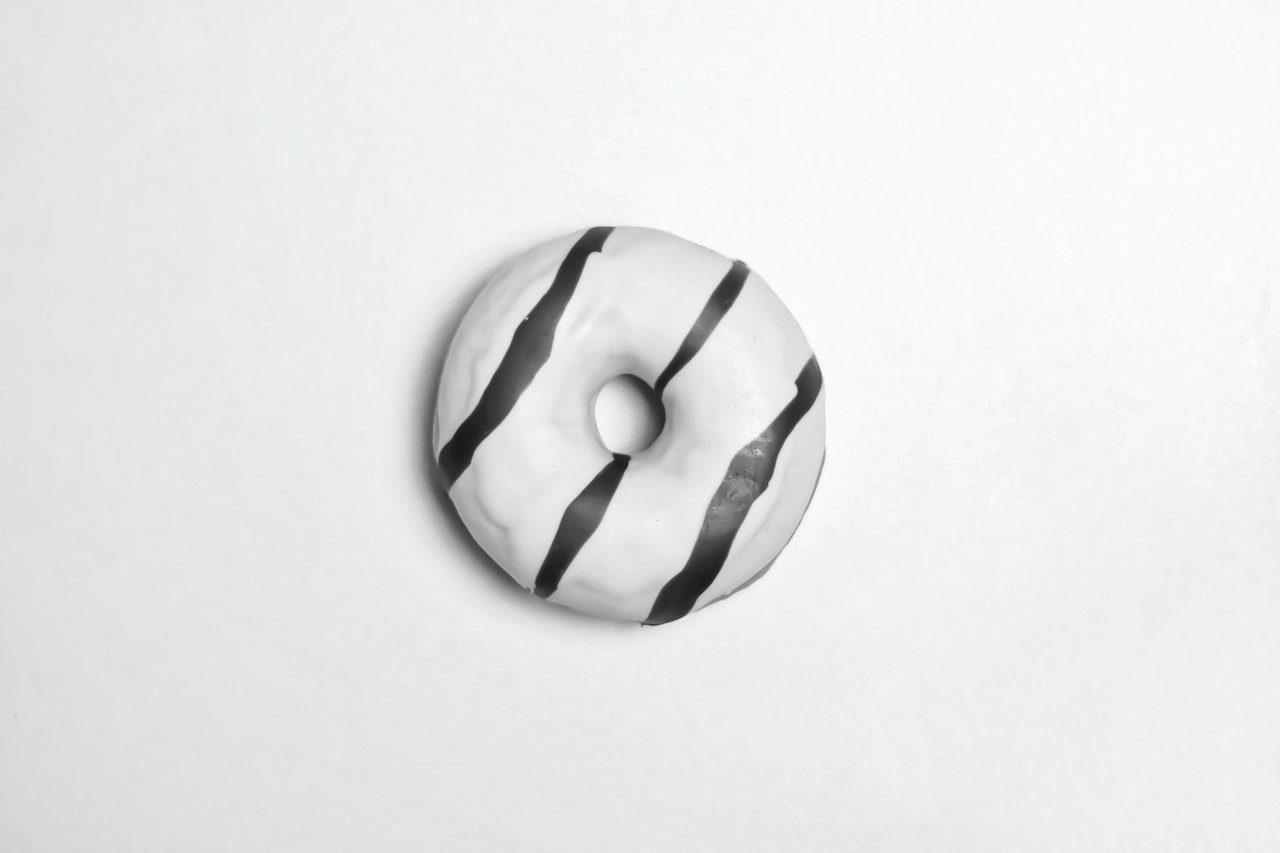
First, download the suggested sample photo:
Use Save image as … to save the below image to disk.
2
Open the image
Run CODIJY ![]() . The program starts with Project Explorer. To open the photo:
. The program starts with Project Explorer. To open the photo:
- Click
 in the lower left corner of the dialog box
 - Locate and open the donut-bw.png file from your disk
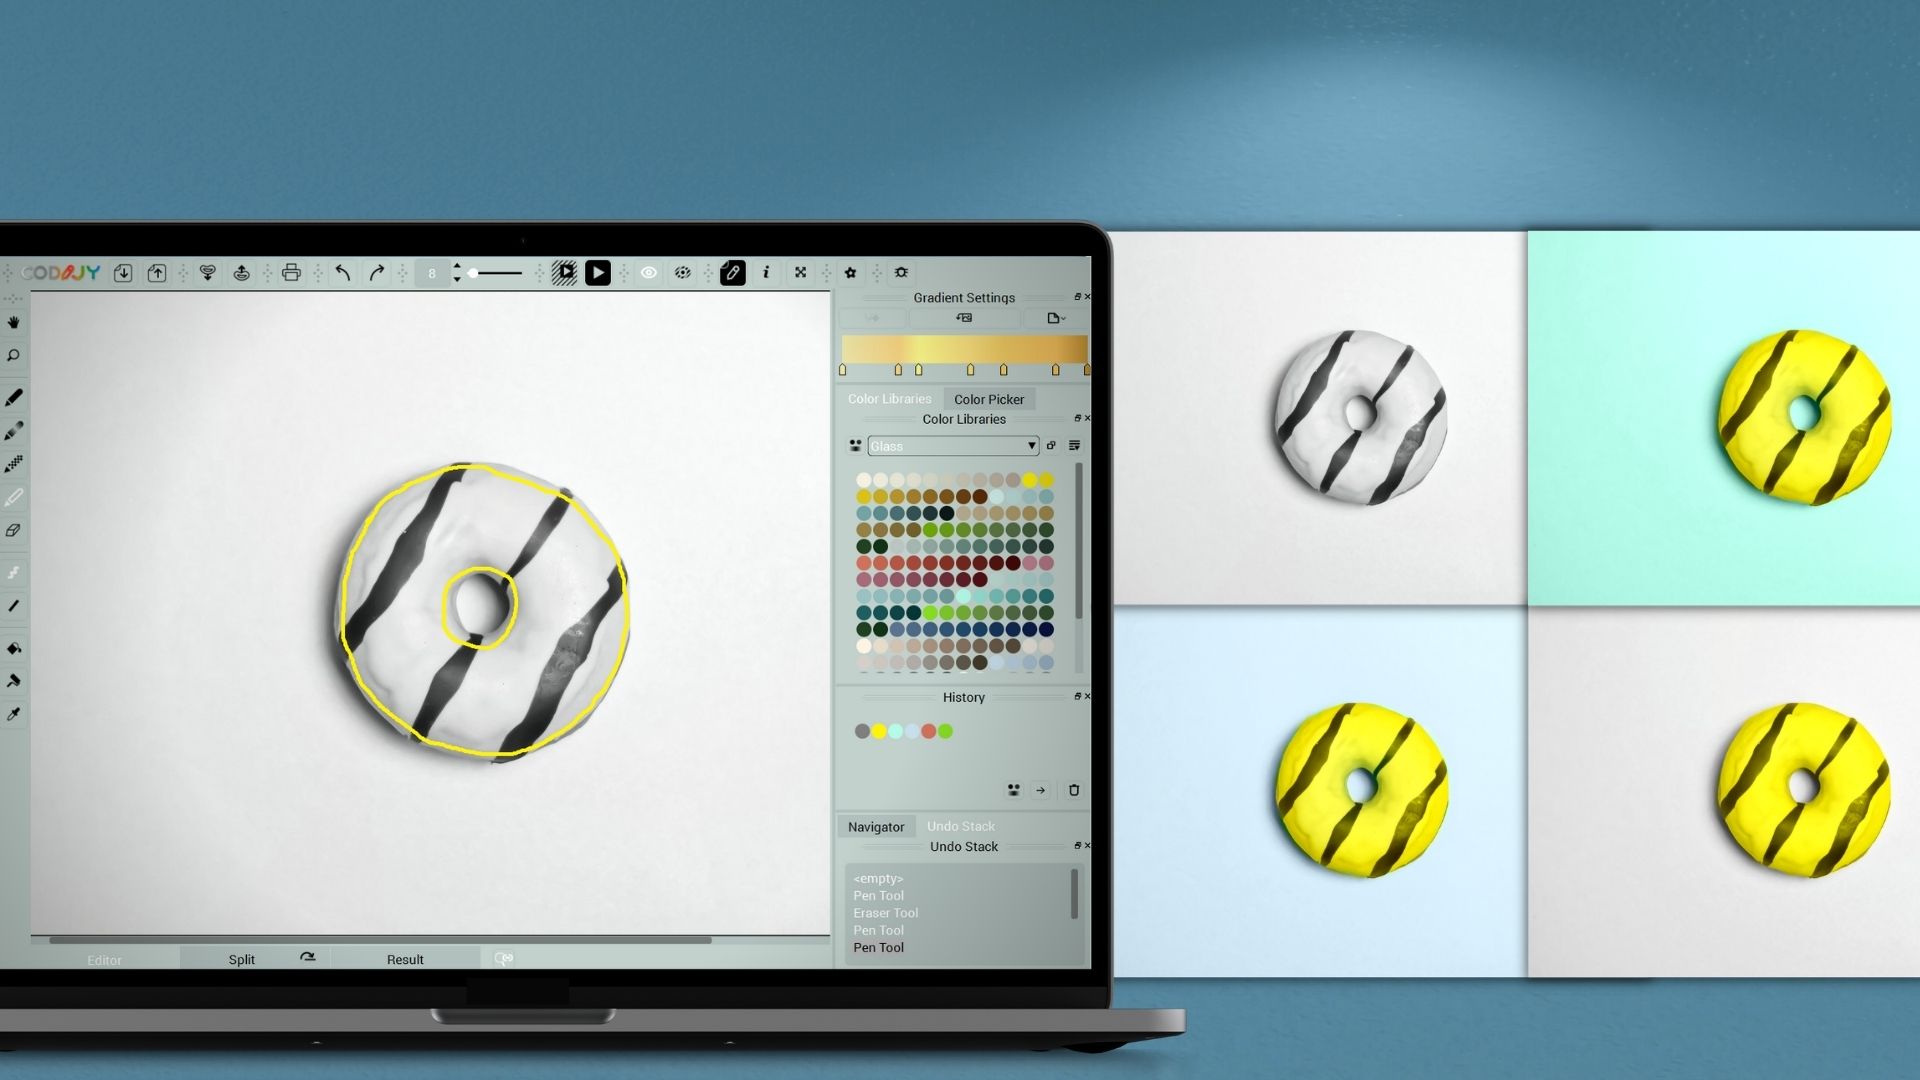
The image opens in the Editor (1). Note that in this view the drawing/repainting tools are active (2).
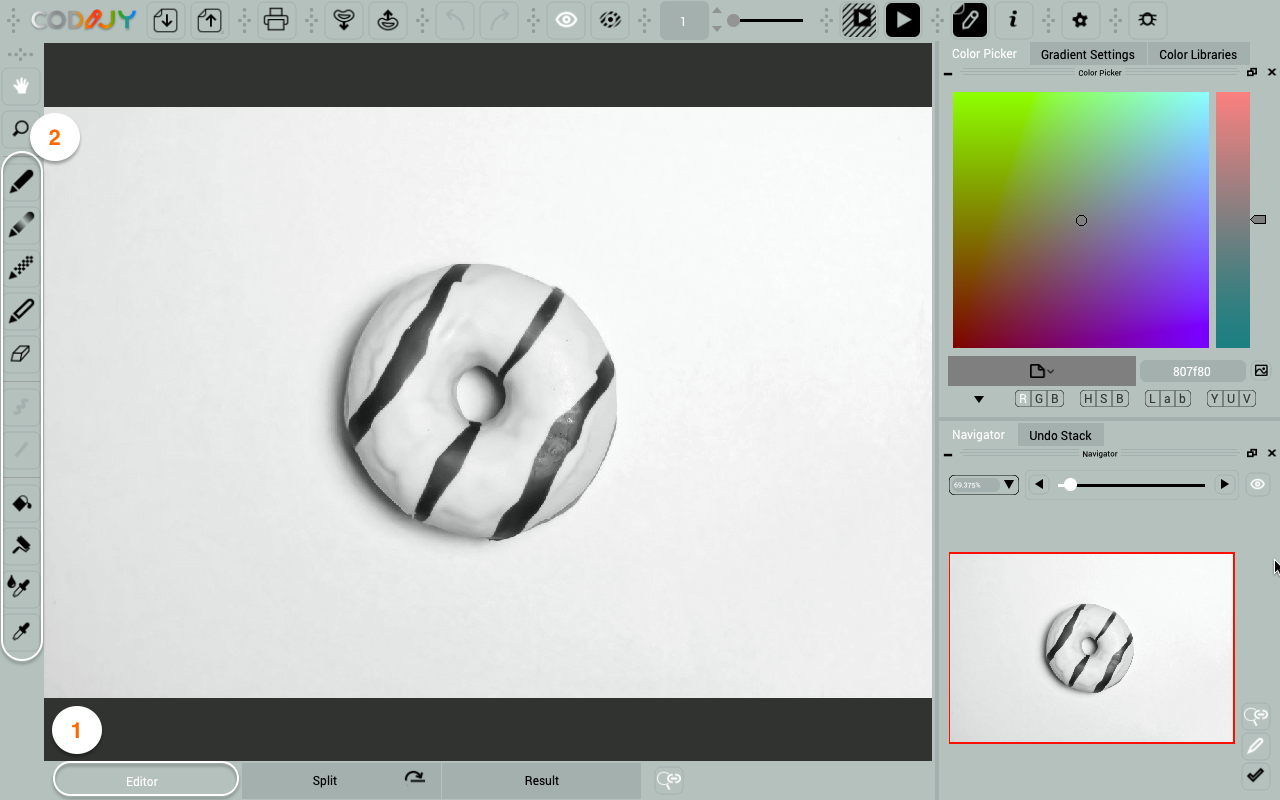
You can pick colors using palette/color libraries on the right. Let’s start with the donut.
3
Set up the pen
To color it, we’ll outline its edges with a yellow lemon tone. For this:
Step 1. Select the the pen ![]() or press (P)
or press (P)
Step 2. Choose the Freehand mode ![]() (F) .
(F) .
Step 3. Pick the lemon yellow shade from the “Glass” library.
CODIJY lets you add, remove or protect photo colors with simple strokes!
4
Draw yellow mask
Trace around the outside border of the doughnut from the inside.
Set back a few pixels from the edge!
Note: This stroke is called a color mask. It has a unique function.
Masks tell the CODIJY algorithms about your chosen tones and the areas they apply to.
Let’s preview the result.
5
Get a colored result
You can only view the result after the image has been processed.
Click ![]() or press Ctrl R/⌘R. It will generate a full image preview.
or press Ctrl R/⌘R. It will generate a full image preview.
When processing is complete, CODIJY switches to the “Result” tab.
Why did CODIJY fill the whole image with yellow color?
CODIJY follows your creative ideas. If you don’t add another color to the area behind the border, it assumes that both areas should have the same tone.
To trigger Auto Border Detection, add masks on both sides!
Let’s add a background tone and see how it affects the result. To do this, go back to the editor at the bottom of the work area.

6
Add color to background
Step 1. Add a teal mask outside of the donut. Generate preview.
Step 2. Circle the part of the background inside the donut.
Remember to add a yellow mask to the inner contour, to prevent the teal tone from spreading to the inside of the donut!
Take a look at the final result. It looks perfect in new colors!
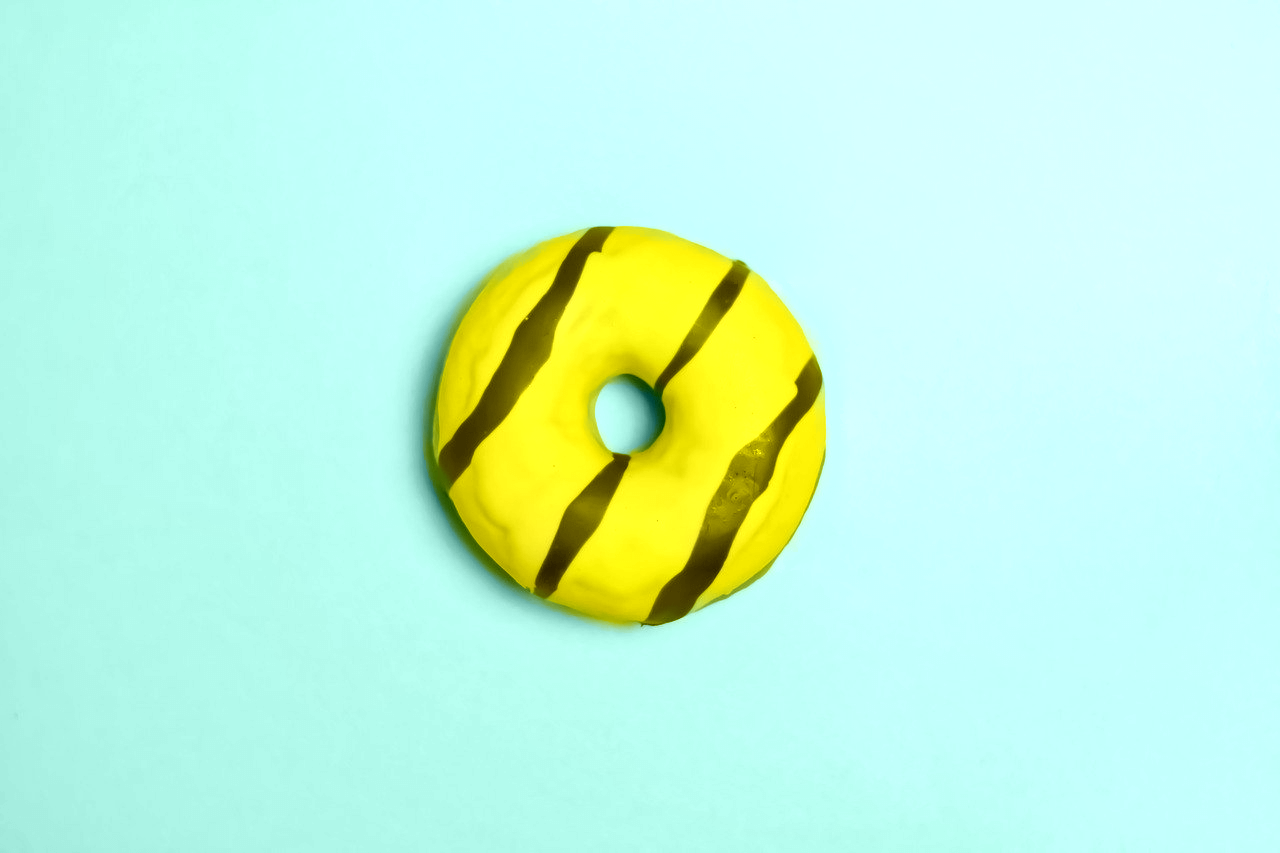
The cutting-edge technologies ensure results that are notable for:
Neat borders: Even though the mask was a bit uneven, Auto Border Detection interpreted the borders neat and clear!
Realistic looking surfaces: CODIJY did a superb job rendering the icing and shadows in bright hues!
Even color distribution: Relying on four simple masks, CODIJY carefully and evenly colorized two large areas.
If the result satisfies you, export the colored preview to an image file.
7
Export the color preview to the image
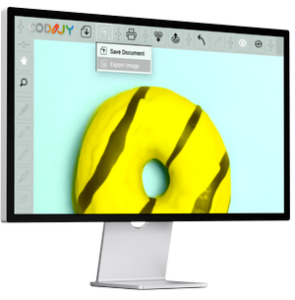
CODIJY lets you export results to PNG, JPEG, TIFF and other popular image formats. To do this:
- Hold down the Save icon for a second.
- Select Export to Image in the drop down menu.
- Choose the preferred file format and click Save.
8
Save your work as CODIJY Document.
We strongly recommend saving your work to CODIJY documents (*mgd). These files are cross platform and let you store the original images, masks, used colors, watermarks etc!
Creating a CODIJY document before you start editing will start the auto-save function of your current work!
To save your work to a CODIJY document:
- Press Ctrl S /⌘S
- Choose Save Document under File
- Click Save Document on the toolbar
Users of CODIJY Trial: MGD files opened in the registered version let generate watermark-free results.
What's Next?
Develop your colorization skills with a more sophisticated colorful example!
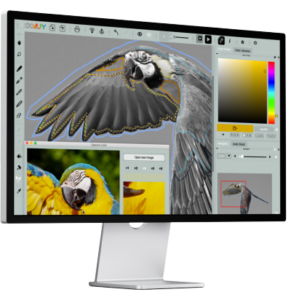
Parrot
Add colors to the vibrant plumage of a tropical bird. Learn to add colors to complex objects!
