Sparrowhawk
Class # 3: Restore Colors
Biplane
Next Master classes
Flight of the Sparrowhawk: Restore Colors
Colorize the Biplane

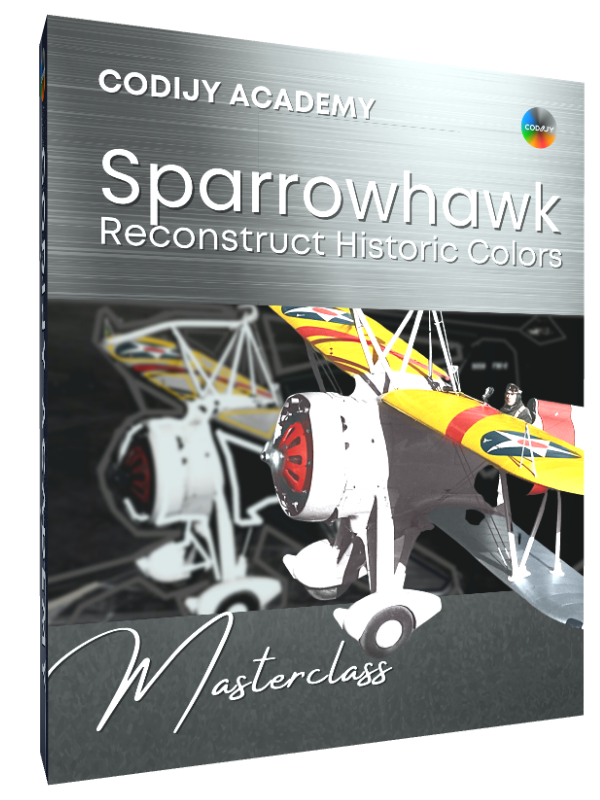
In the second part of the class, we’ll practice using the Color Capture tool to restore the colors of a biplane.
5
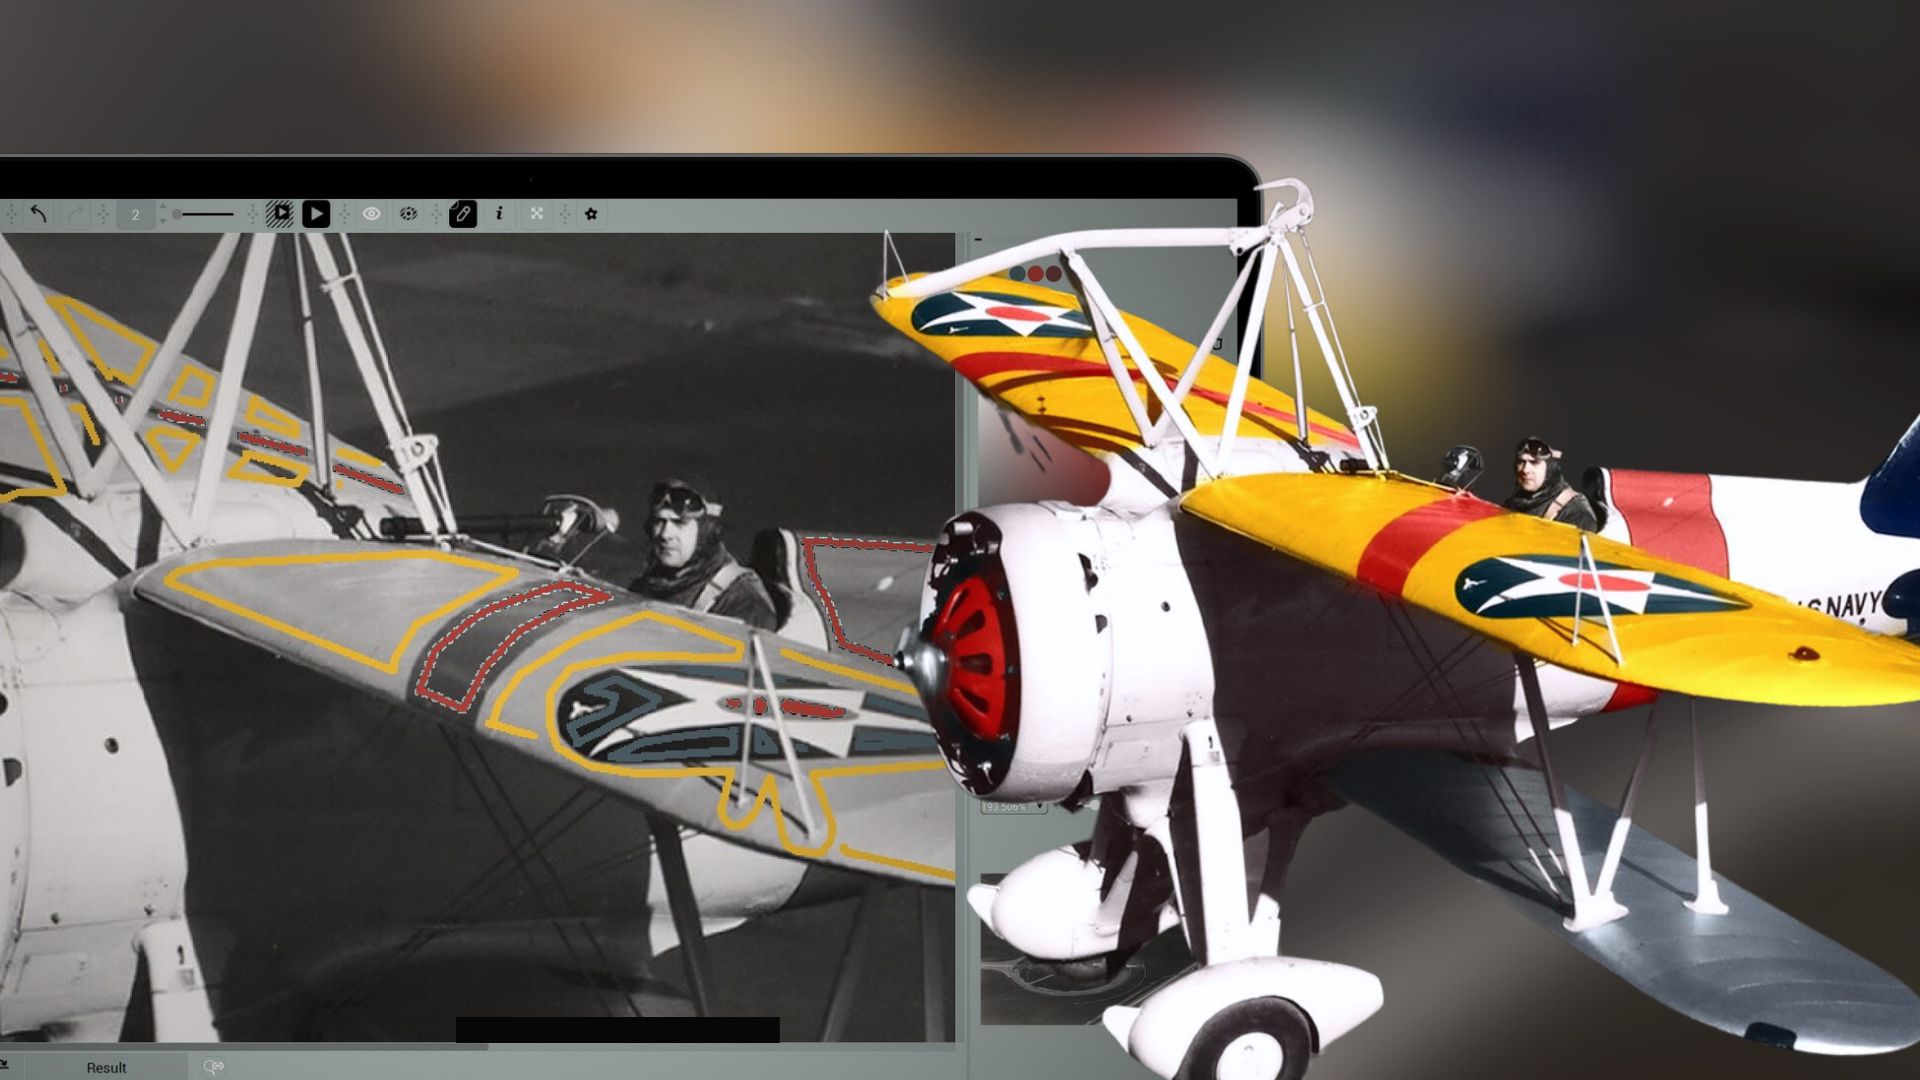
Add colors to the wings and the grille
As you have already captured the amber shade and set up the Pen in the first part, let’s proceed to drawing the masks.
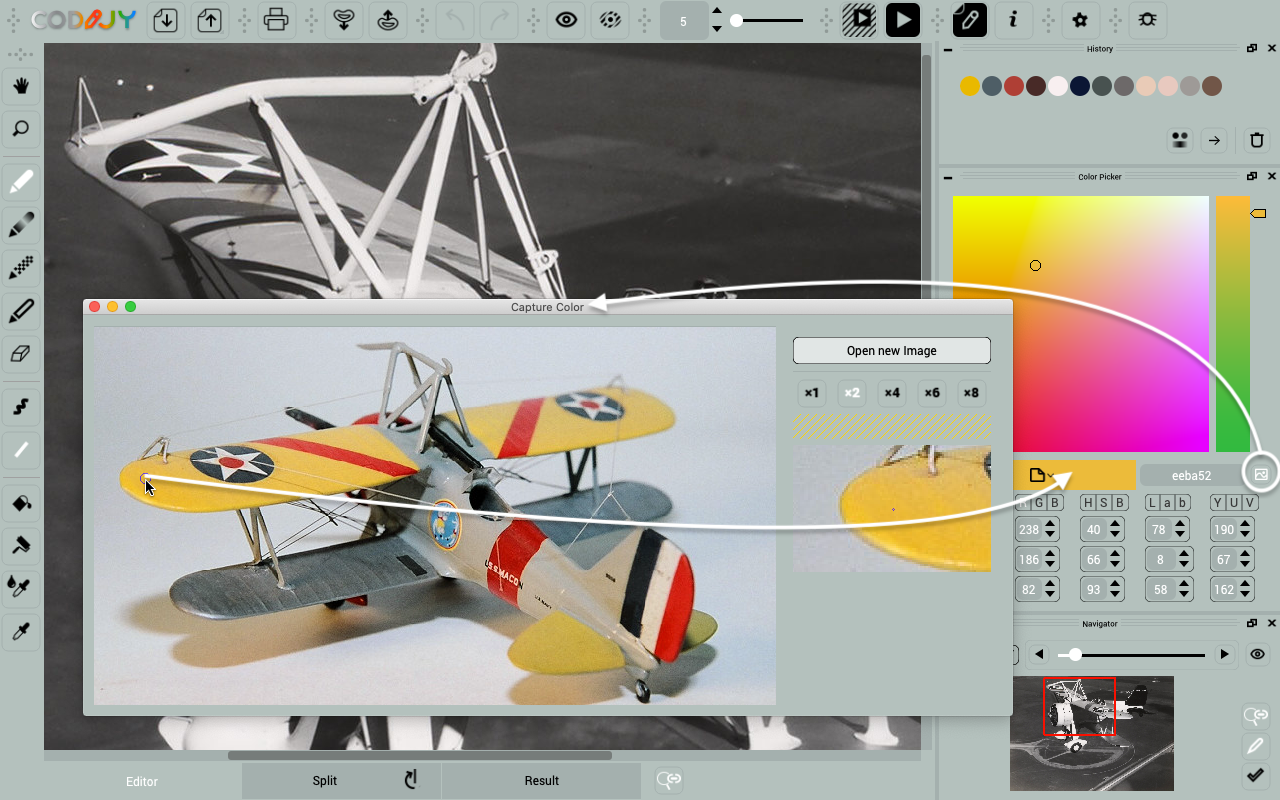
Apply a baseline yellow tone
Trace around the light parts avoiding the emblem and the elements of the hook construction.
Remember that you can draw an entire shape without releasing the mouse button.
![]() Press the space bar at the end of each cutoff and change direction!
Press the space bar at the end of each cutoff and change direction!
Note that there are about 11 small segments. To get an accurate result, make sure you don’t skip any of them.
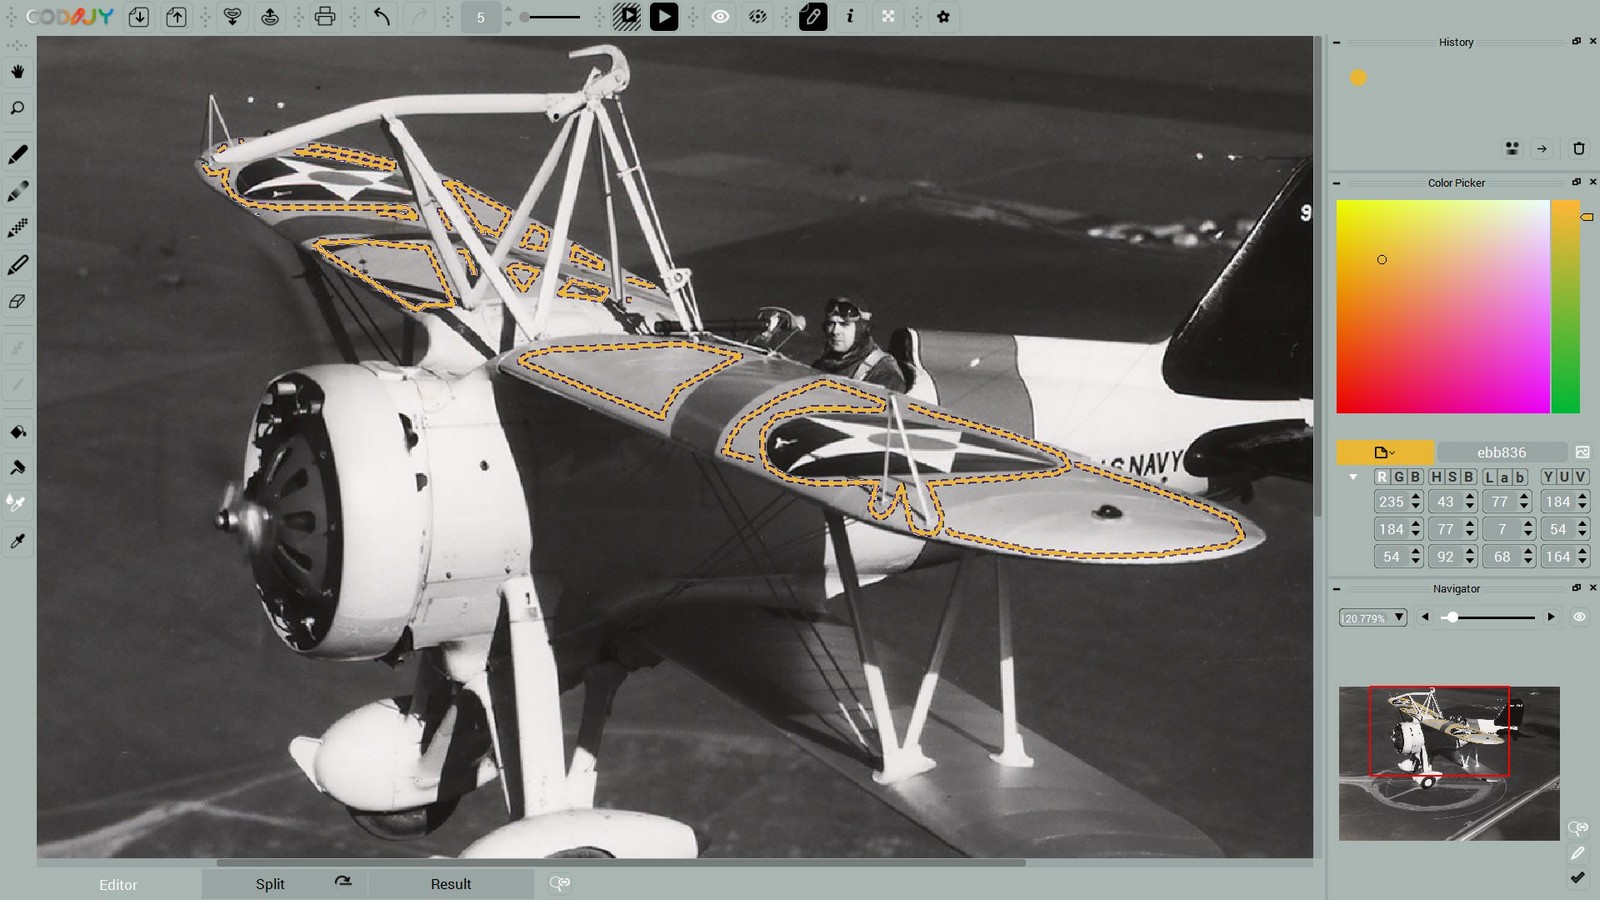
Remember to step a few pixels away from the edge!
Add a navy blue color to the emblem
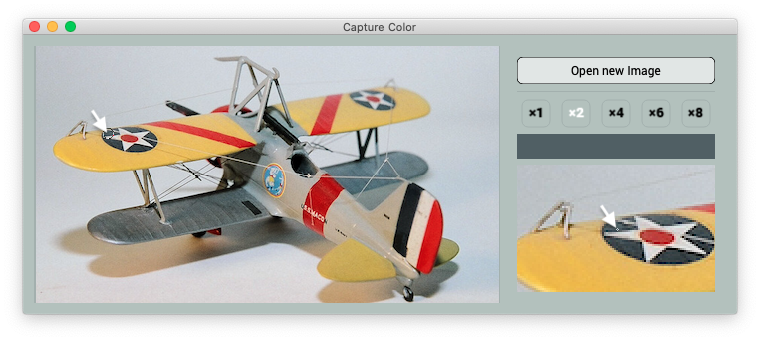
Copy the next shade from the navy blue field of the star emblem.
Choose the pixel with an unsaturated tone.
Now, reduce the brush width to 2 pixels and add a tiny stroke to each part of the emblem field.
When you draw, try not to step over the edge.
The red dots, stripes & the grille
Now, add a coral hue to the emblem, stripes and the grille.
Add strokes to the star middle. Outline the stripes on the wings and fuselage. Go around the grille avoiding slits and the shadows.
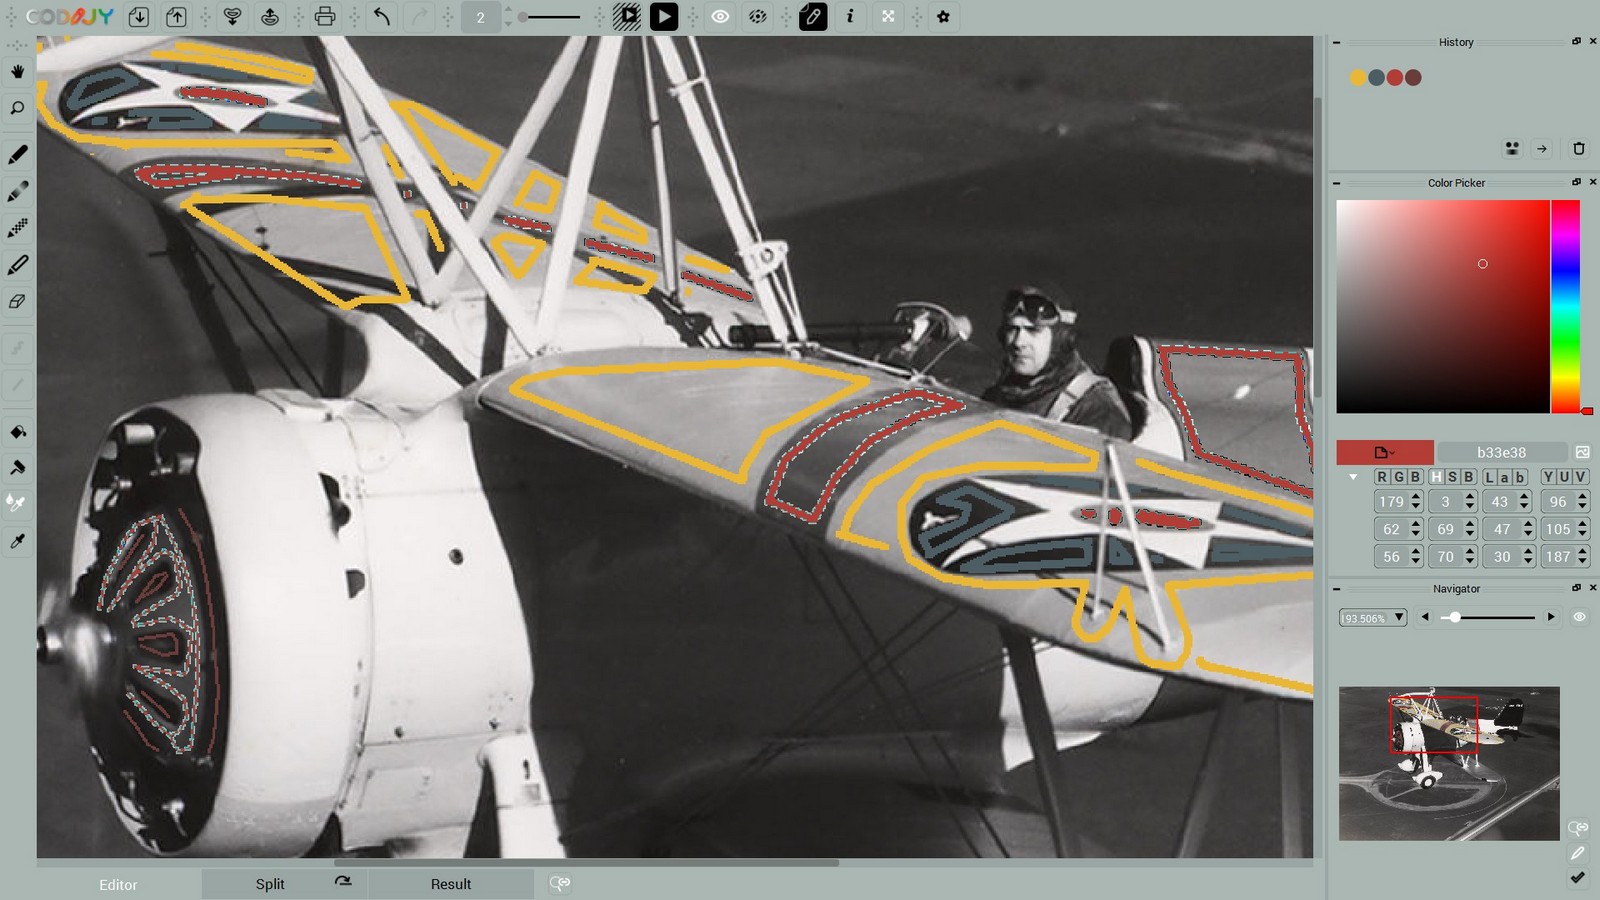
Next, let’s add a contrasting burgundy tone to the slits and the shadows around the grille. Draw additional strokes over these areas.
Do not connect these strokes to the "coral" masks, so that we could repaint them independently!
Now call the HSB parameters of the “slit” stroke and decrease its saturation and brightness. For this:
Select the Roller ![]() and click the mask. Decrease S and B values.
and click the mask. Decrease S and B values.

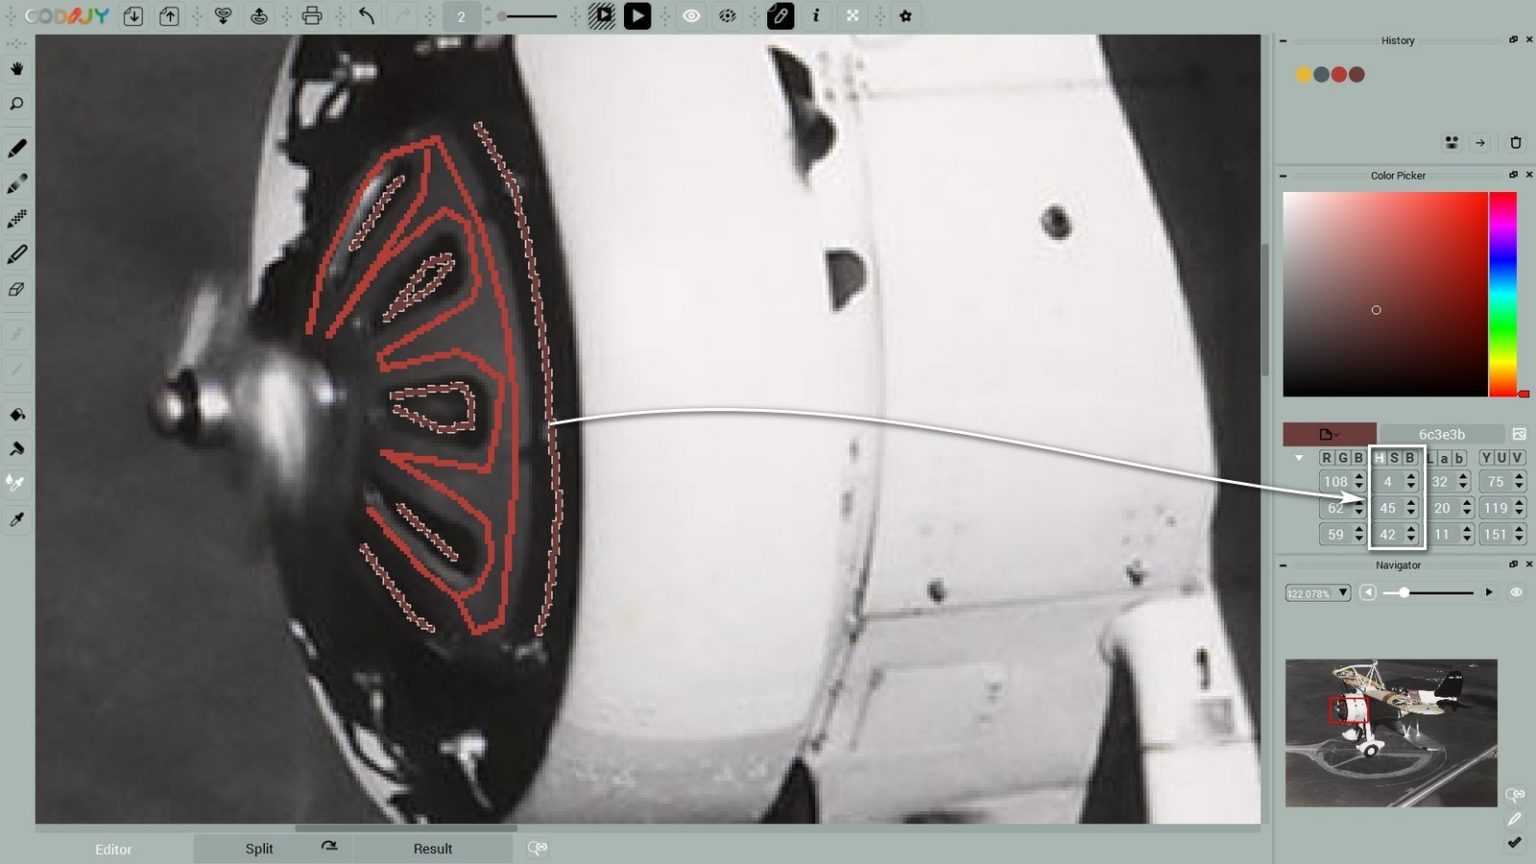
Select the tone ![]() and add it to the other strokes with the Bucket
and add it to the other strokes with the Bucket ![]()
6
Make the fuselage shine
The bright sunlight adds a glowing effect to the white coating of the biplane fuselage.
The lightest shade of any bright color will intensify the vibrancy of the off-white parts in the sun!
For instance, the pixel we copied from the fuselage in the model-2.png image turned out to be a light shade of pink.
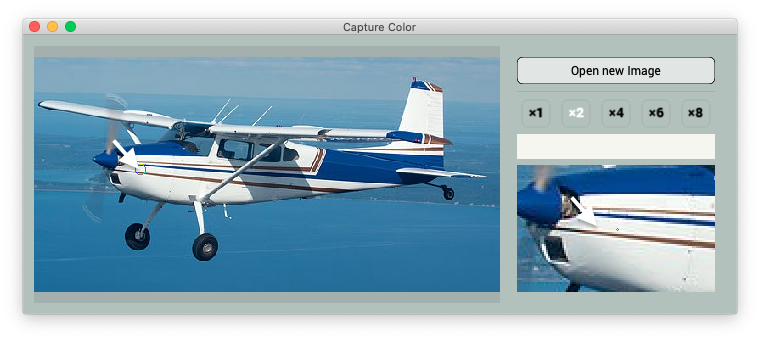
Now add the chosen shade to the white parts following our example.
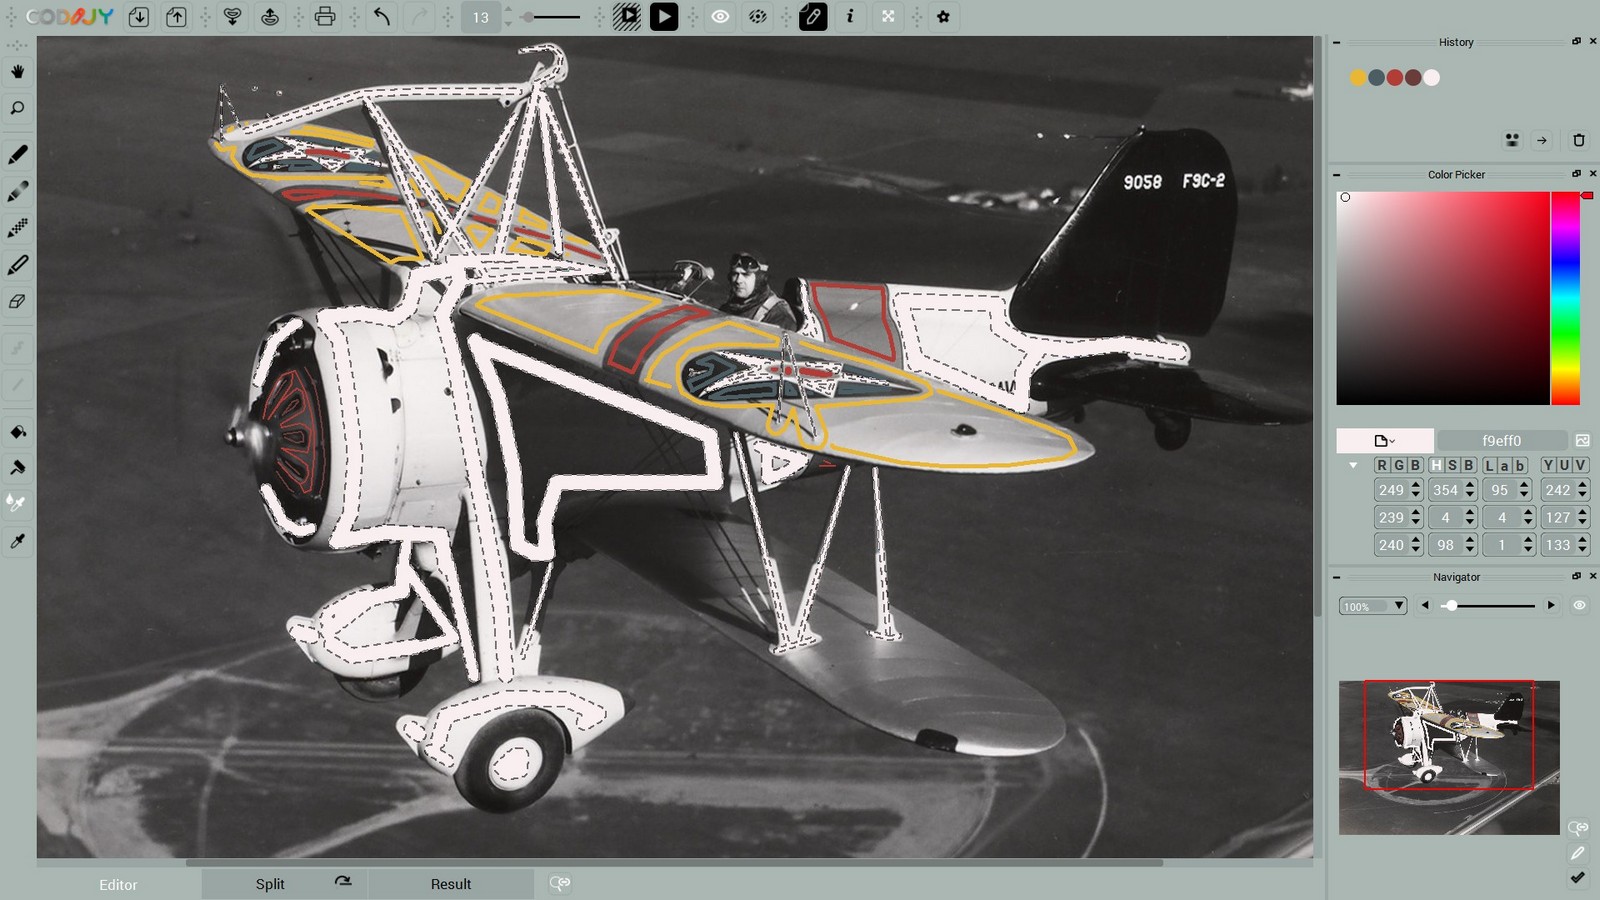
7
Reproduce the hue of metallic details
Note that the metal detail reflect colors. In the next part we will add a lightly blue shade to the lower wing. Let’s add first add the navy blue to the tail.
Step 1. Outline the tail with navy blue (#2 in History)
Step 2. Open color parameters in the Color Picker dialog.
Decrease the Saturation (S) and increase the Brightness (B) of the tone.
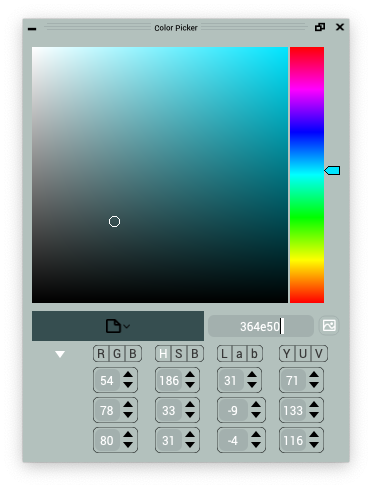
This slate gray tone tends to give gray objects like metals and eyes a slight blue sheen.
Lower Wing
Outline the lower wing with the slate gray we obtained.
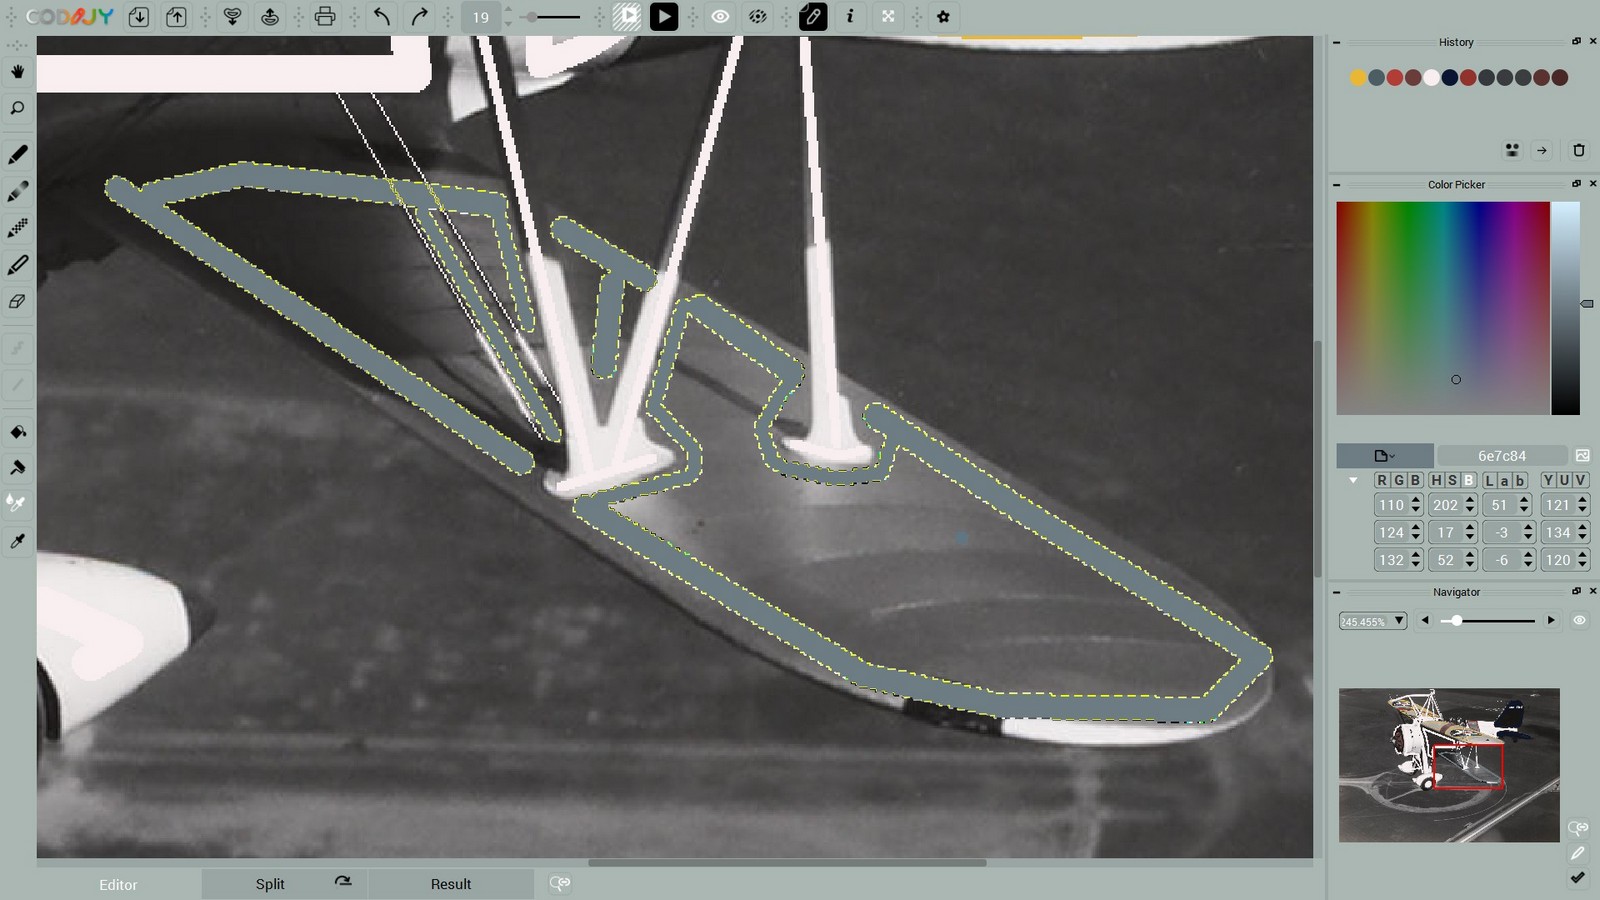
Propeller
If you lower the saturation even further, you’ll get a metallic gray color for the propeller and grille mounts.
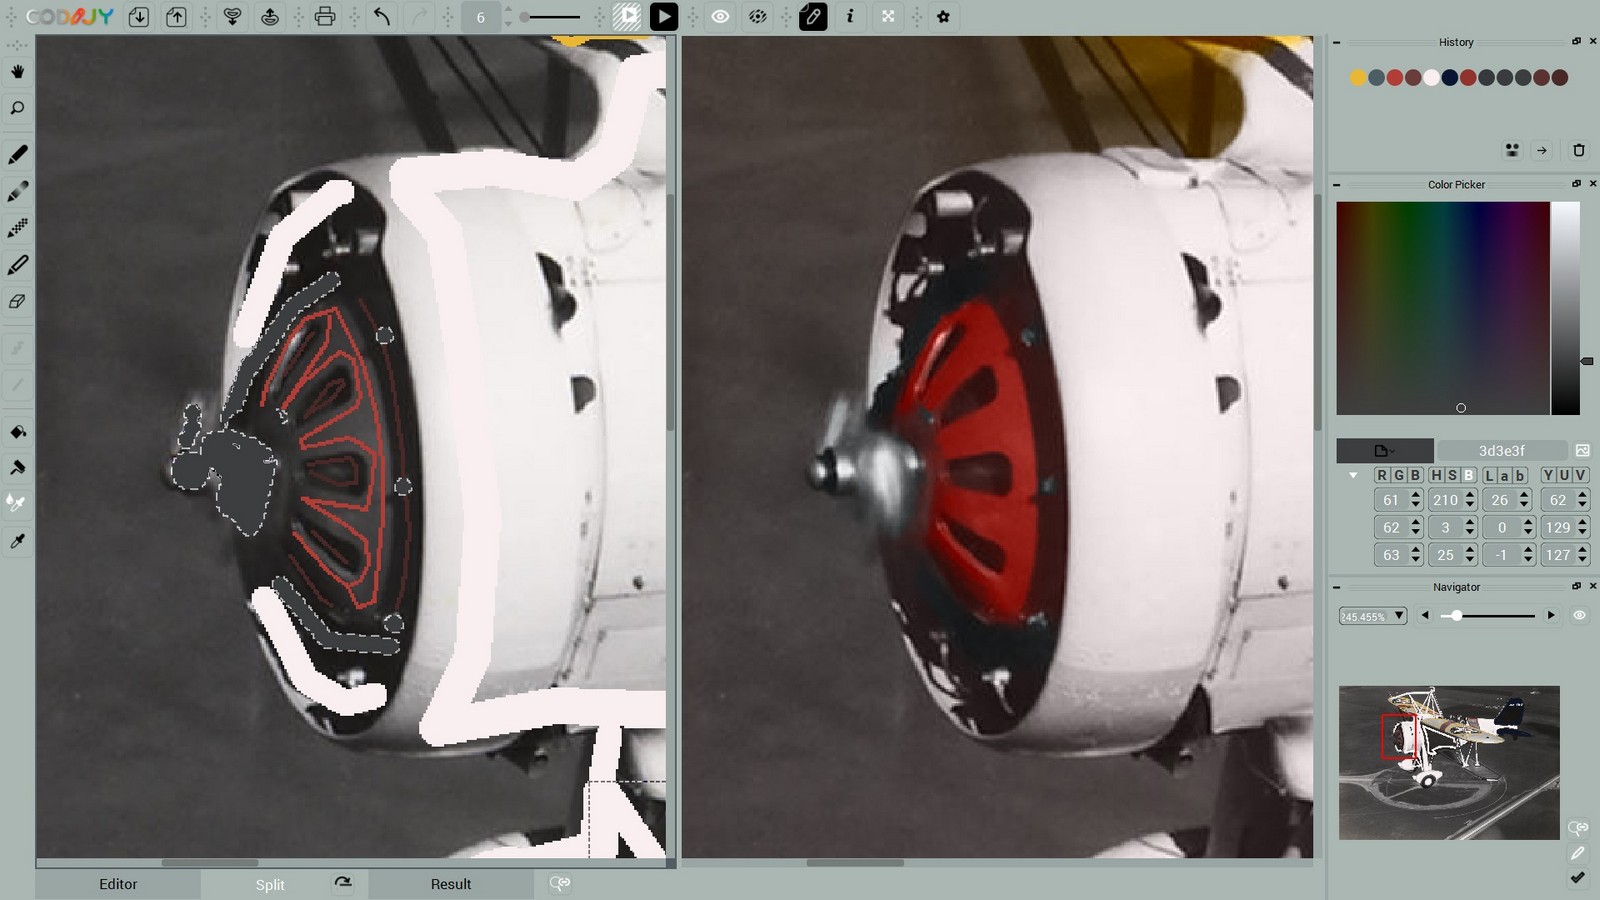
Preview the result
Run Full Image Processing ![]() (Ctrl R/ ⌘R)
(Ctrl R/ ⌘R)
For now, ignore the color spreading on the airfield background. Check the edges of the wing elements, grille and fuselage colors.
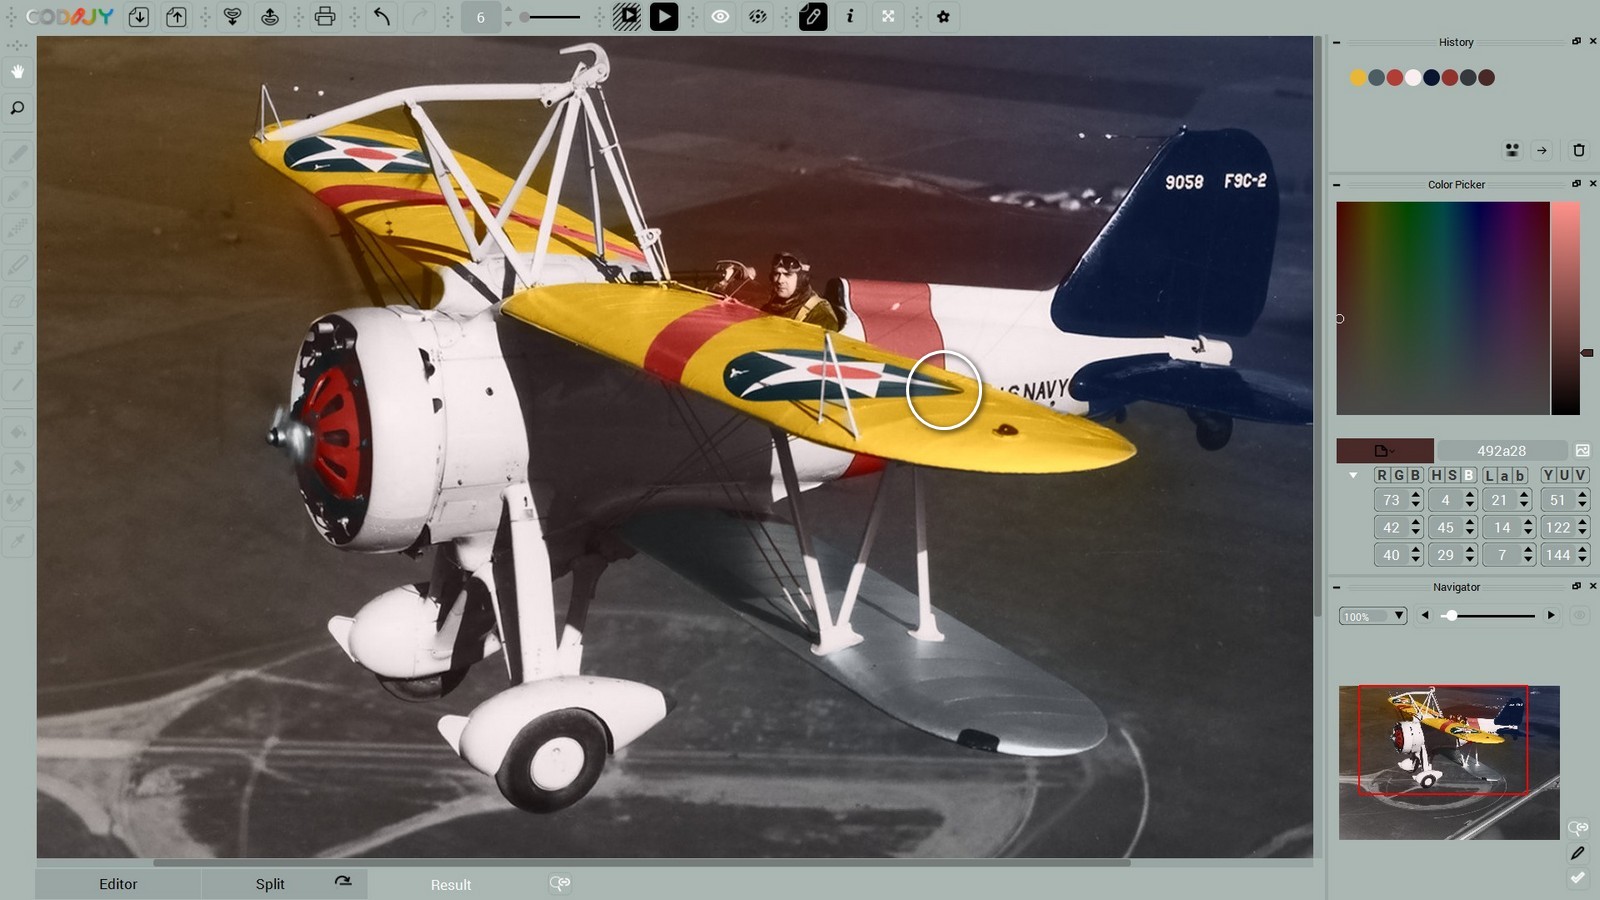
The chosen amber and coral tones have increased the brightness of the coating, making it literally shine in the sunlight!

